About Me

My photo
Sewing is therapy for me. I hoard fabric, patterns, notions, and spend more time shopping for fabric than I care to admit...
Showing posts with label Heirloom creations. Show all posts

Tuesday, July 12, 2016

Pink Jeans--screaming summer here!

I'd forgotten how much I love making jeans.  They are super satisfying, especially if they fit well and the process is just different enough from a regular type of clothing--dress, top, knit, etc.

Fashionable narrow leg woven jean

These are described as a narrow leg jean with a contoured waistband and RTW details.  I have to say, I completely agree!


I really, really, really love the fit of these.  They work on my aging body, even though my back end is starting to look like my mother's.  :)  


I really need to do more squats and lunges.  That is on my to-do list.  


We all know that SA's directions are not the greatest and since this is not one of their newer patterns that I believe has better verbage that the older ones, this one was a chore.  This isn't my first rodeo with jeans.  I've made many pairs--probably double digits so this isn't a new process for me.


The length of these is just perfect.  For reference, I am 5'7".  I wash and dry my denim at least twice to take care of residual shrinkage.  


I really love adding rivets.  Other than the six rivets I added, that is all I glitzed them up.  I mean they are PINK!  What more do you need?  


Sorry, I am not sure why this photo is fuzzy but the hubster couldn't be bothered for more photos.  


See what I mean by approaching geriatric butt?  My rather regular jogging isn't enough to take care of this body deformity.  ;)    


Here is a closer up photo of the rivets.  I don't have any fancy equipment other than a leather punch to cut the fabric so it can easily receive the rivet top and bottom half, the rivet setters, and a hammer. Two good whacks and those babies are set.


See how neat and tidy the zipper looks?  I finally dug out a Vogue jean pattern and looked at a previous pair I had made so I could visualize what I needed to do to finish up the fly.
My pocket lining and facing is made of lightweight cotton.  One nice this with the pocket lining is that it extends to the fly.  I sort of feel like you could possibly make that piece from a power net so you had some tummy control.  

This was a fun make.  This denim is so awesome to work with!  I also have some in red and leaf green.  I can't wait to stitch those up as well.  

Did I mention this is how these jeans fit STRAIGHT from the pattern?  How often does that happen?  I love my shocking pink jeans.  What have you been sewing?

Sue 

Wednesday, February 3, 2016

McCall's 6992 A New Favorite Pattern

This is such a simple, easy to assemble, fashionable pattern from McCall's dated 2014.  I know it isn't exactly brand new, but it is new to me and so there you go!

M6992, Misses' Tops

I decided to construct this after seeing a fellow reviewer make more than 3 of these that were SO CUTE and when that happens, I must make my own!

Line Art

Here is the description from the back of the pattern envelope: Misses' tops: Fitted pullover tops have neck and sleeve bands and hemline variations.  A, B, D: Lower band.  C, E (Cut on crosswise grain): Overlay variations.  D, E, F: Shaped hemline, wrong side may show, narrow hem.  F: Purchased trim and beads.  I love patterns that give you many options so this is a WINNER!!!


I made a size 14, my usual in the big 4.  I made a swayback adjustment and an FBA.  I also had fun with my fabrics!  The animal print is the only little bit of scrap I had from a recent wadder so I was glad I was able to use it for something that I really like!  It is made from a sweater knit.


The black is a cotton-Lycra blend that I purchased the entire bolt of earlier this fall.  It behaves so beautifully!  I wish I had two more bolts of it as I can see an entire wardrobe of staples made from it!  


This pattern is well drafted and all the notches and marks line up beautifully.  The neckband was super easy to apply!  I used my serger for 90% of the construction with my regular machine for the topstitching at the neckline and my coverstitch for the hemline.  I opted to leave the lower band off to give it a less casual look--if that makes any sense at all!


I can't wait to make more of these!  Such a fun and easy make!  Fabric recommendations include fleece, sweater knits, double knit, cotton knit, and lace.  You can also use rib knit for the bands.

I will be making more of these so get ready to see more variations!  How cute are the tops with lace?

Thanks for reading!
Sue

Wednesday, January 6, 2016

In pursuit of the perfect fitted blouse

I love fitted blouses, especially when the fit is beyond superb.  Having said that, I really like this one but I have some additional fitting to do.  But this, is a very good start!

Crispy white Jenny shirt - sewing patternFor this blouse, I used the StyleArc Jenny Shirt.  It has some very nice details!  I love the forward shoulder treatment, back yoke, placket sleeve vent, and the darts for fitting.


It also has an almost real placket for the sleeve, which I think is always a great touch.  Although, darn, I forgot to get a picture of that detail! I promise to for the next version.  


As sewists, we all know, or should know what we are getting into with StyleArc patterns when it comes to the directions.  Am I right?  

For these, I was completely disappointed and I am a HUGE fan of StyleArc!  

Here are my complaints--
How hard is it to proof read?  I know that I make errors in my blog, but I am not publishing it for anything than my own personal reflection on my sewing, not to sell a gosh-darn-thing.  In the first line of construction details, the word 'cur' is used instead of cut.  Not huge, but then again....


My other gripe is that the sleeve placket pattern doesn't match the diagram included with the instructions.  Now mind you, I've done this more than a few times so I know how to make a sleeve placket but if you had no idea, this illustration wouldn't help you in the least.  Not one tiny bit.  


Alterations?  Well, I made my usual 1/2" swayback adjustment and that is it.  
Also, I knew this top was fitted, but I am not the slim, trim gal I was 15 years ago so I left out the back darts so I had a little breathing room.  Maybe if I hadn't eaten so many goodies for Christmas, I would have been able to put the darts in, but for now, they are out.  
I also am experimenting with the best way to complete a sloping shoulder adjustment and I read an article in the most recent Vogue Sewing that talked about this topic.  Their suggestion or technique is to scoop out the bottom of the armscye as much as you do the with the sloping shoulders.  Does that make any sense whatsoever?  
I'll take a photo next time.  I think the shoulders need a tad more work.  

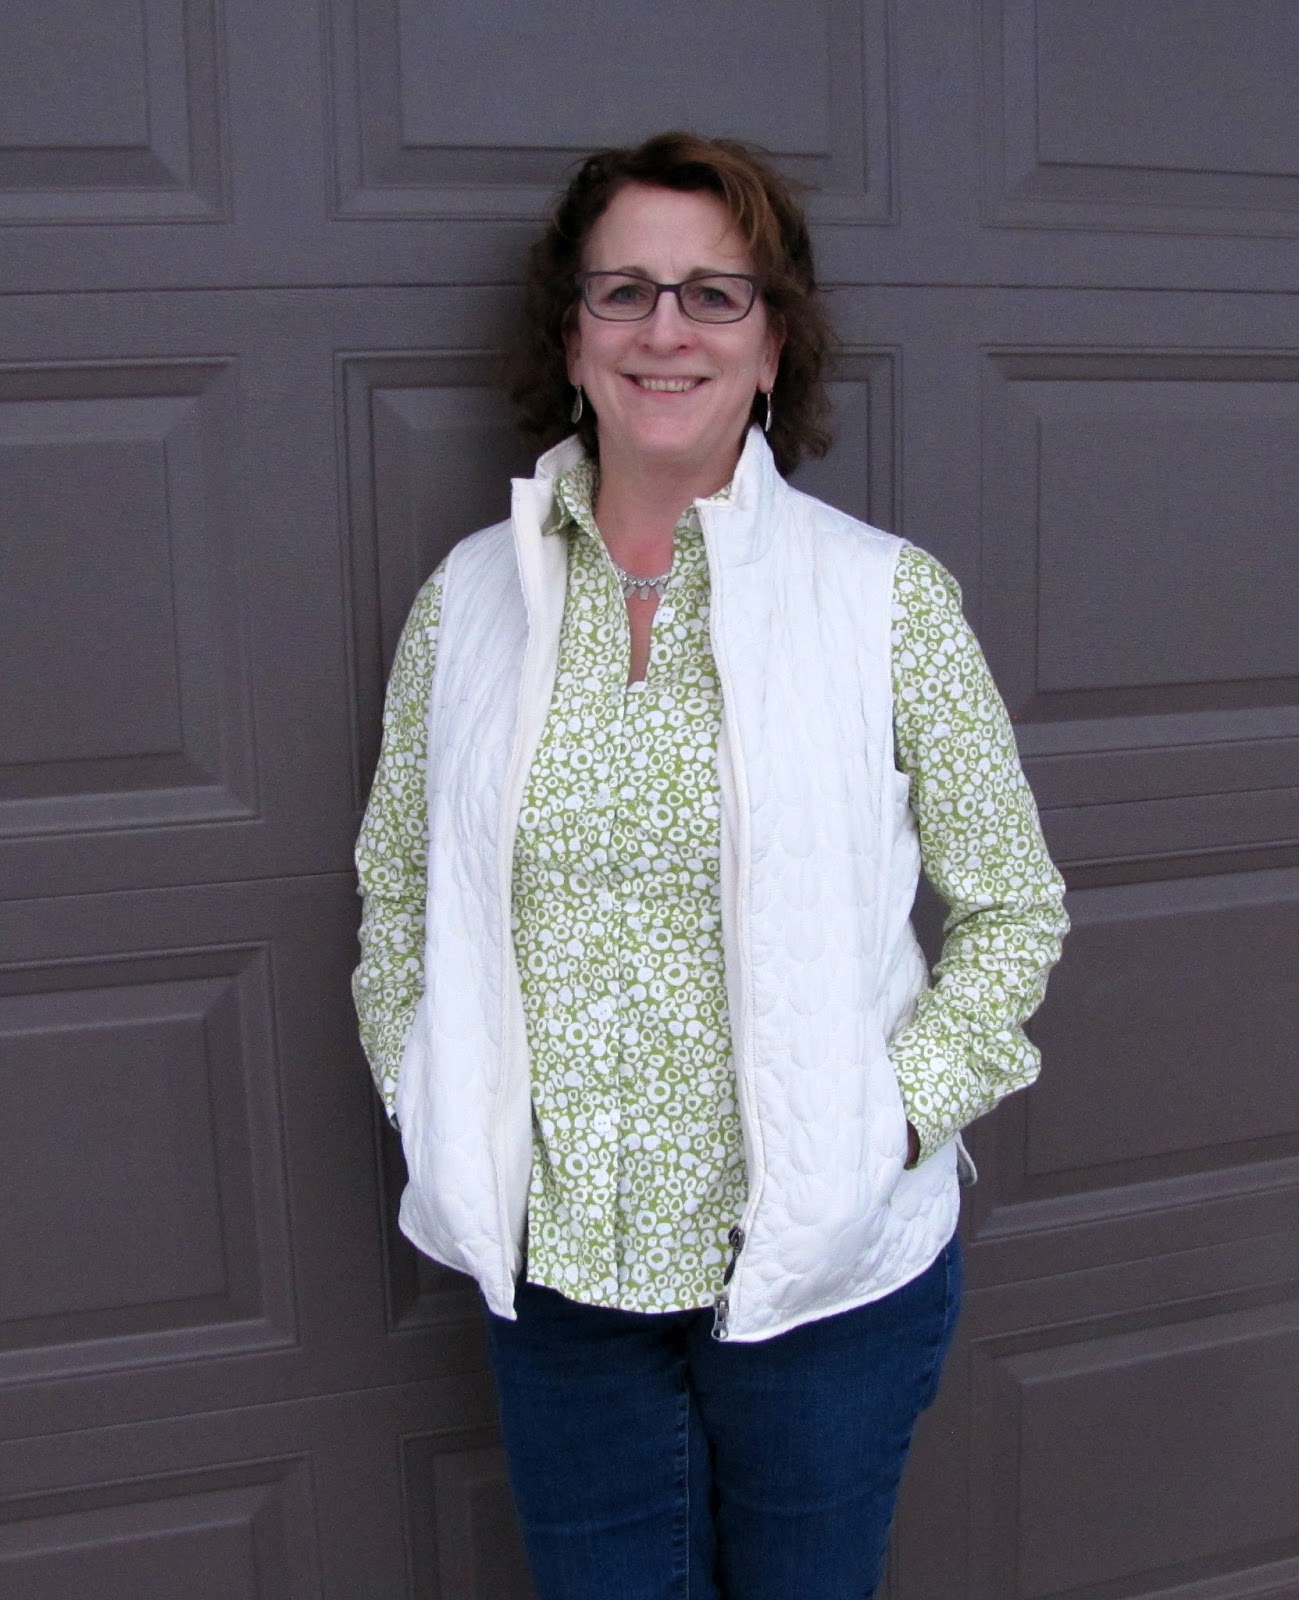
I love my new top, especially with this RTW vest I've had for ever!

Thanks for reading and if you have a blouse pattern you love, would you share the pattern details with me?

Sue :)  

Sunday, January 3, 2016

Comfy, cozy flannel

I love flannel!  Do you?  It is warm, soft, and comes in wonderful colors and patterns.  I found this plaid fabric when a local quilt shop decided to sell off all their fabric.  I wish I would have purchased more colors and patterns! It is truly lovely to work with.  And oh yes, this post is LATE!!!  Better late than never, right?


I couldn't decide what to make with it or what exactly I would do with it but knew I loved the gray and muted red together.

For inspiration, I turn to the web and a lot of times Pinterest.  Instead of a typical button up the front and collared shirt, I thought this tunic from StyleArc might be fun.  The pattern isn't designed for flannel but with the looser fit and blouson top, I thought it would work so I'll let you decide if the final execution was worth it or not.  I will say however that I wore it today and received many compliments!


Tunic Top featuring pockets & draw string


This tunic is called the Ginnie.  It has a front band, drawstring at the hip level, envelope pockets that are lower than the bust, roll sleeves and a shaped hemline.  I made just a few modifications.


As you can see, I cut the front band and pocket flaps on the bias to give it a little visual interest.  I interfaced the areas that called for interfacing as suggested by the pattern.  For StyleArc, the directions were actually pretty good!  The only head-scratching moment I had was in regards to the envelope pockets.


This is the first time I've ever made them and while they aren't complicated, I was confused!  If you look at the diagram of the pocket and think about it, they go together fairly easily.  Don't be like me and over think it.


I lengthened the sleeves so they are full-length and also the hemline so it covers my backside more thoroughly.  There is nothing worse that tugging on a top that is too short.  I didn't initially add the sleeve tabs but might now that I have worn it.


I will make this tunic again in a lighterweight fabric that is more flowy as that is how it was designed. I love breaking the sewing rules now and then, don't you?


Thanks for reading, I love this top and felt warm, cozy, and if it is okay to say, confident in my new top.  As you can see, I included some 'action' shots of my favorite little buddy (my grandson Simon). He was 'helping' me decorate the Christmas tree!  

Sue :)

Monday, March 2, 2015

Finally--a moto jacket!

I can't believe it took me so long to make this awesome jacket!  I guess the stars had to align so that inspiration and the right fabric merged!  Which is crazy to think about since I've had this pattern for months and the fabric for at least a month!


I guess cleaning up my sewing room and coming across the two things together made me finally jump on this and wow, I am thrilled with the results!


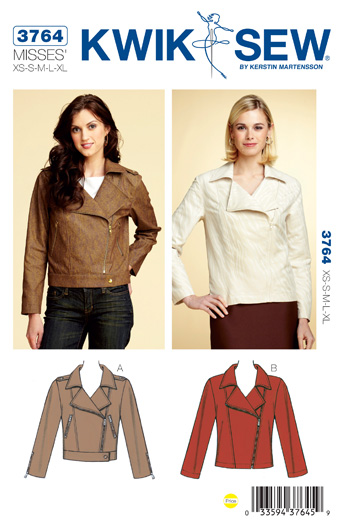
So this is Kwik Sew 3764 and I love everything about it!  The description from the back of the envelope is this: Unlined jackets have collar and overlapping fronts with zipper closure in left panel seam.  View A has epaulettes, waistband, pockets with zippers, zipper with gusset at bottom edge of sleeves, and snap or button closure on epaulettes and waistband.  View B has hemmed bottom edge. This is designed for medium weight woven fabrics.


I made a modified view A meaning I didn't include the epaulettes, but otherwise it is straight up as the pattern is written.


As other reviewers have mentioned, the directions are VERY well written and VERY well illustrated! Most Kwik Sew patterns are awesome, but this one is exceptional and I truly mean that!


I LOVE this fabric I choose which was made by P&B textiles and is listed as a faux leather.


It is made from Polyurethane, polyester and viscose.  It's hand wash, you then roll the garment in a towel to squeeze out the excess water and let dry.


It was actually fairly easy to work with although a little heavy and I didn't really struggle with it until the two sections of the collar and the facing were sewn together--that's three layers!  But I went slowly, used my walking foot and it all turned out pretty--if I do say so myself!  This fabric has an embossed quality to it.


The directions for the zippered welt pockets and the sleeve zippers and gussets was just brilliant!  If you follow those directions carefully and mark your fabric carefully, sew with precision, you will love your results!  Having said this, this isn't a pattern for beginners.  You need some experience before tackling this.


Another finishing detail that is very nice is how the top portion of the zipper is finished off.  You most likely will have to cut it down and don't be afraid of it!  If you use a metal zipper, there are so many tutorials on how to remove the extra teeth using a pair of needle nose pliers and pull.  If you have a plastic zipper, you sew the fabric piece to the top, wrap it and cut off the excess.  It looks professional, neat and tidy. I like metal snaps and attached one to the waistband using my dritz pliers.They worked great!  No issues at all.


I made my usual 1/2" swayback adjustment and that's it!  I was a little concerned I might have to make an FBA but it really wasn't necessary with the weight of the fabric and how this fit.


Next time, I will make a deeper swayback adjustment.  I'm 5'7" and the sleeves were perfect!


I am very happy with how this turned out and I hope you'll try this too!


Thanks for reading and I so love your comments!

Sue