I seem to be on a pants kick lately due to my recent success with Vogue 8774--which was a recent blog post.

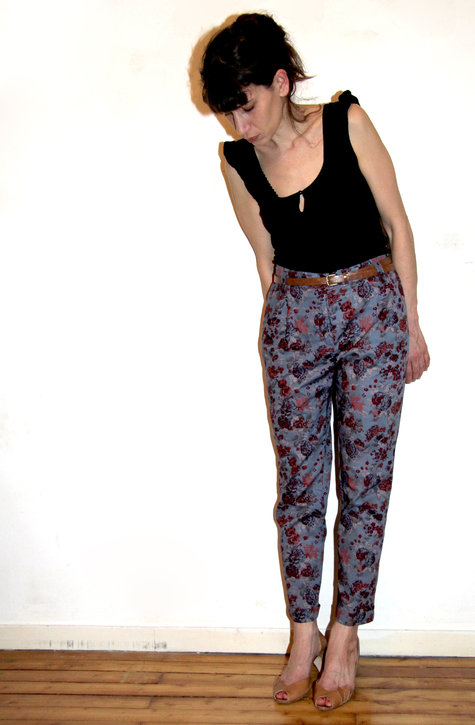
I really love these pants made in a non-traditional fabric. I've worn these about 5 times already so I decided to mix it up a little bit and find some additional patterns I also like. My co-workers may get tired of seeing me in the same pants if I don't!
 I was looking around at Hancock while I was waiting in line to get my fabric cut and found this wonderful twill to make pants. Ok, one decision down, next to find a pattern. I snooped around on-line and came across this pattern and saw this unbelievably cute pair sewn up which was on Burda's website. And lucky me, the next time I was at JoAnns, Simplicity/Burda patterns were on sale! Yippee!
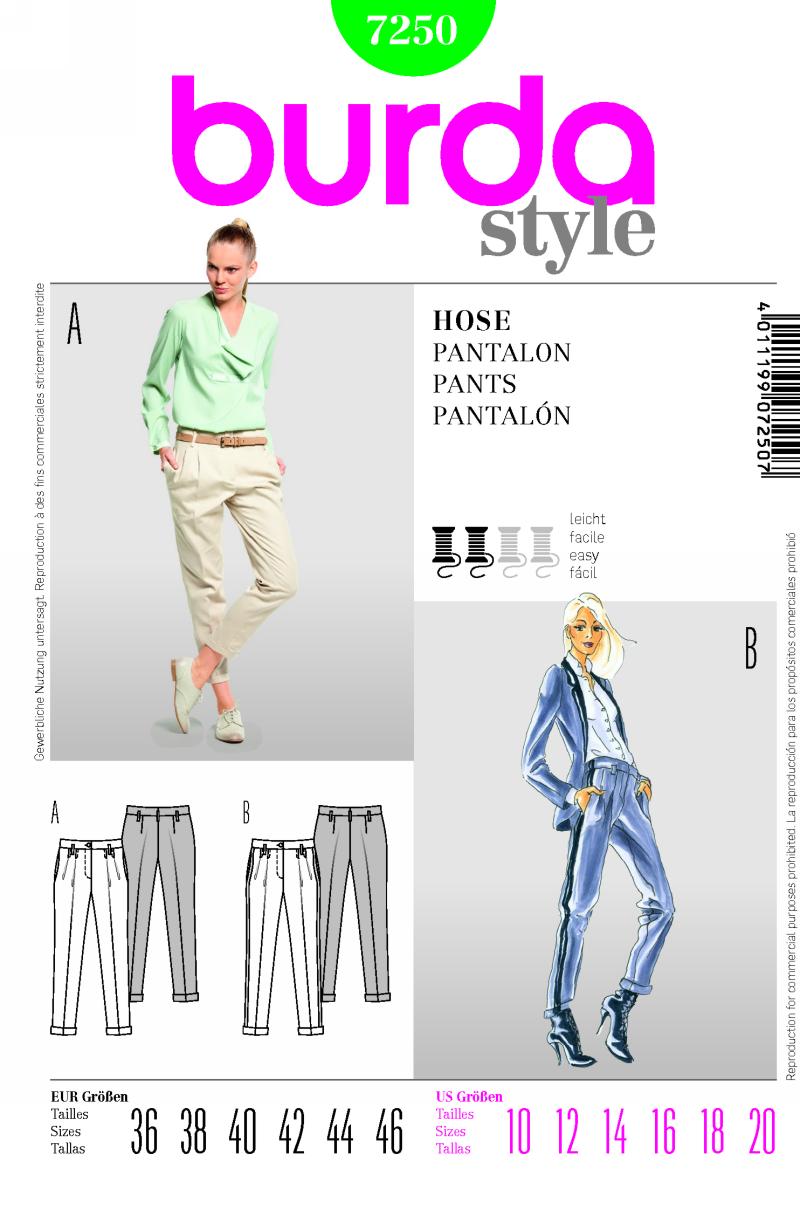
Burda doesn't give much of a description for this pattern other than semi-fitted. There is a view A and B. The only difference is that B has a stripe of other fabric, ribbon, or what have you down the outer leg seam. I choose view A. I used almost all of the 2.5 yards I purchased for this along with a zipper and some interfacing from my stash. Total cost, about $12.
I think my finished garment looks quite a bit like the pattern envelope. I did make a couple of changes which I will highlight below.
Likes/Dislikes:
Love the styling. The front pleats are different. The ankle length cuffed pants are darling, perfect for showcasing cute shoes! Had it no rained about 3 inches today, I would have worn my red heels or my dark python printed heels. The ground is so wet it started soaking into the neighbor's fence!
I like the fit of these pants. This finished garment was my wearable muslin. I made very few changes to the pattern straight out of the package. More on that later.
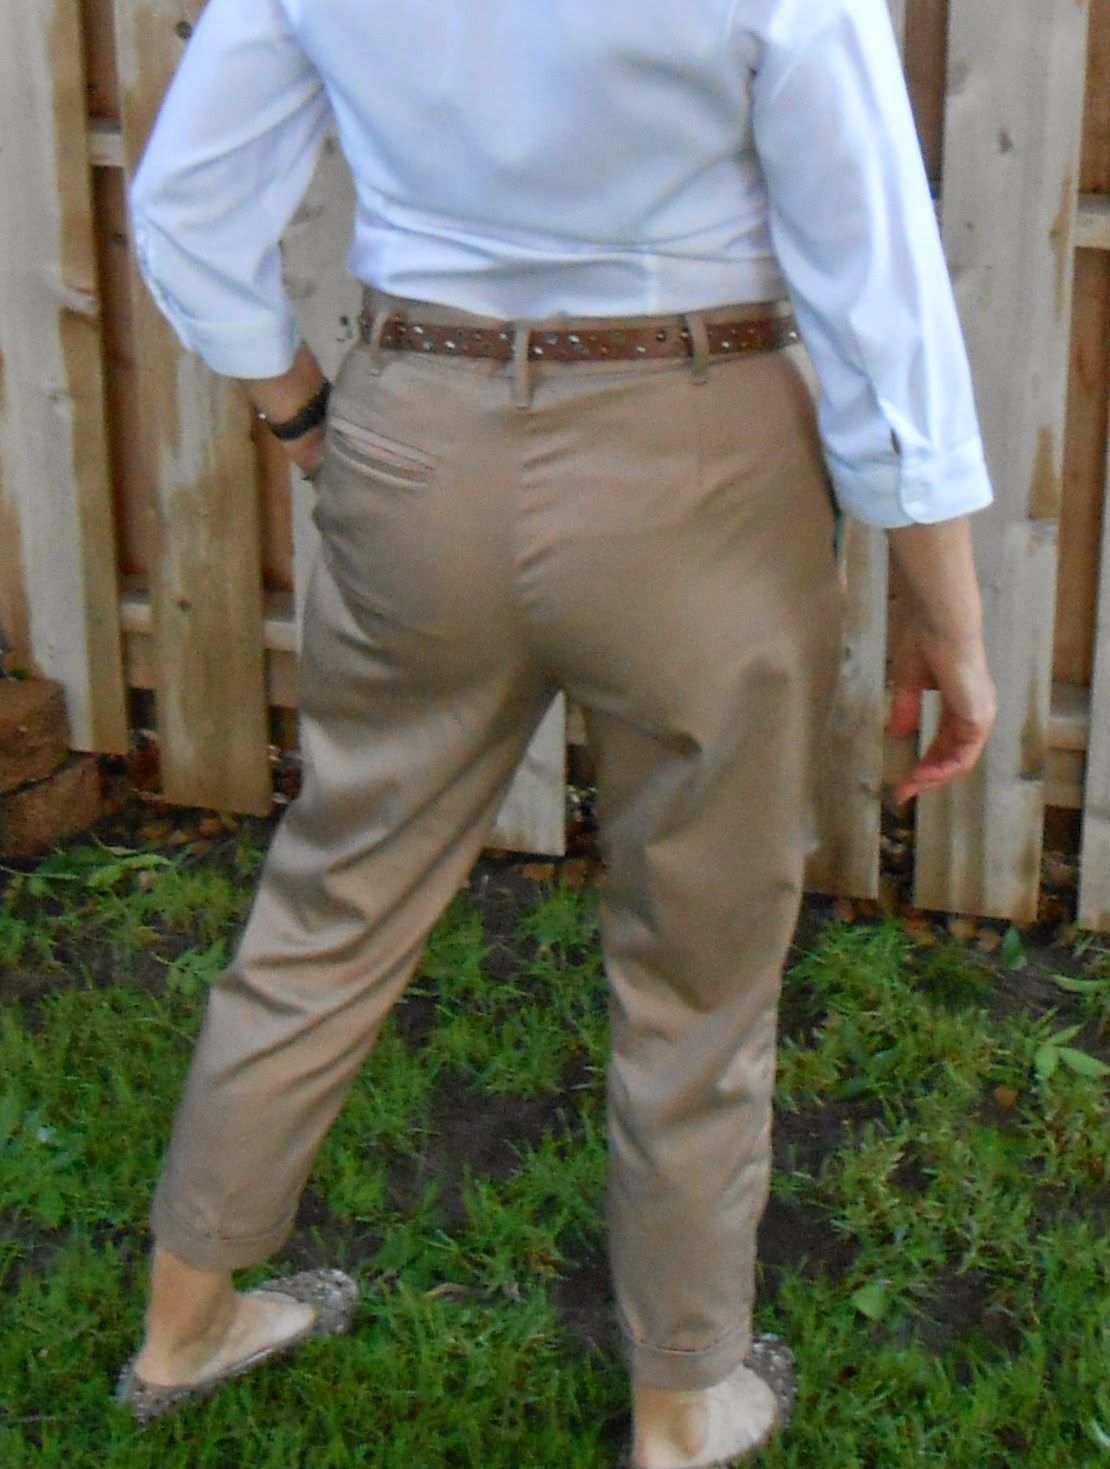
Dislikes: My only dislike is that the waist line is a little bigger than I'd like. I will remember that for next time. See how it bunches just a bit at the back waist?
Directions:
There are 25 steps to these pants including putting the ribbon/fabric trim on the outer seam. The fly is super easy and isn't a true fly but works great for this pattern. I know that many reviewers remark that Burda's directions are minimal, and they are, however I read through every word and found them to be clear, concise, and the visuals helpful. If you have some sewing experience, you can put these pants together with few, if any problems!
Modifications:
1. I lowered the waistline but about 1/2". I found it a little higher than I wanted.
2. I added a double-welt pocket on the left for aesthetics only. It is a true pocket and I doubt I will use it but I didn't want a plain back. My derriere is too flat for that!
3. I stitched very close to the edge of the crease that runs length of the front. I avoid ironing as much as possible and I hope this helps.
4. I took the waistband in about 1/2 to 3/4 of an inch. It's still a little big, but since I will be wearing a belt with these, it's fine. I 'll just remember for next time to reduce it some more.
Recommendations:
I enjoyed making these pants so much! I cut them out and put them together in about four hours. The zipper insert is super easy. I love the cute cuffs and the pleats are great. I think I am in love with my new pants and want a cute floral pair. I can see making these up in a wool (lined of course) for fall and in an adorable print or even plaid. I hope you'll try this pattern. I love it! And, DH gave his stamp of approval--always a plus!
Thanks for reading!
Sue


These pants are just so cute on you. Love all the details...the cuffs, the front tucks, pockets and belt loops. You are looking very slim too. I can see why you love these pants and I'm sure you will be making more.
ReplyDeleteThanks so much!
DeleteSuch great looking pants. And I LOVE the green print ones!
ReplyDeleteThanks Beverly! I love making pants!
Delete