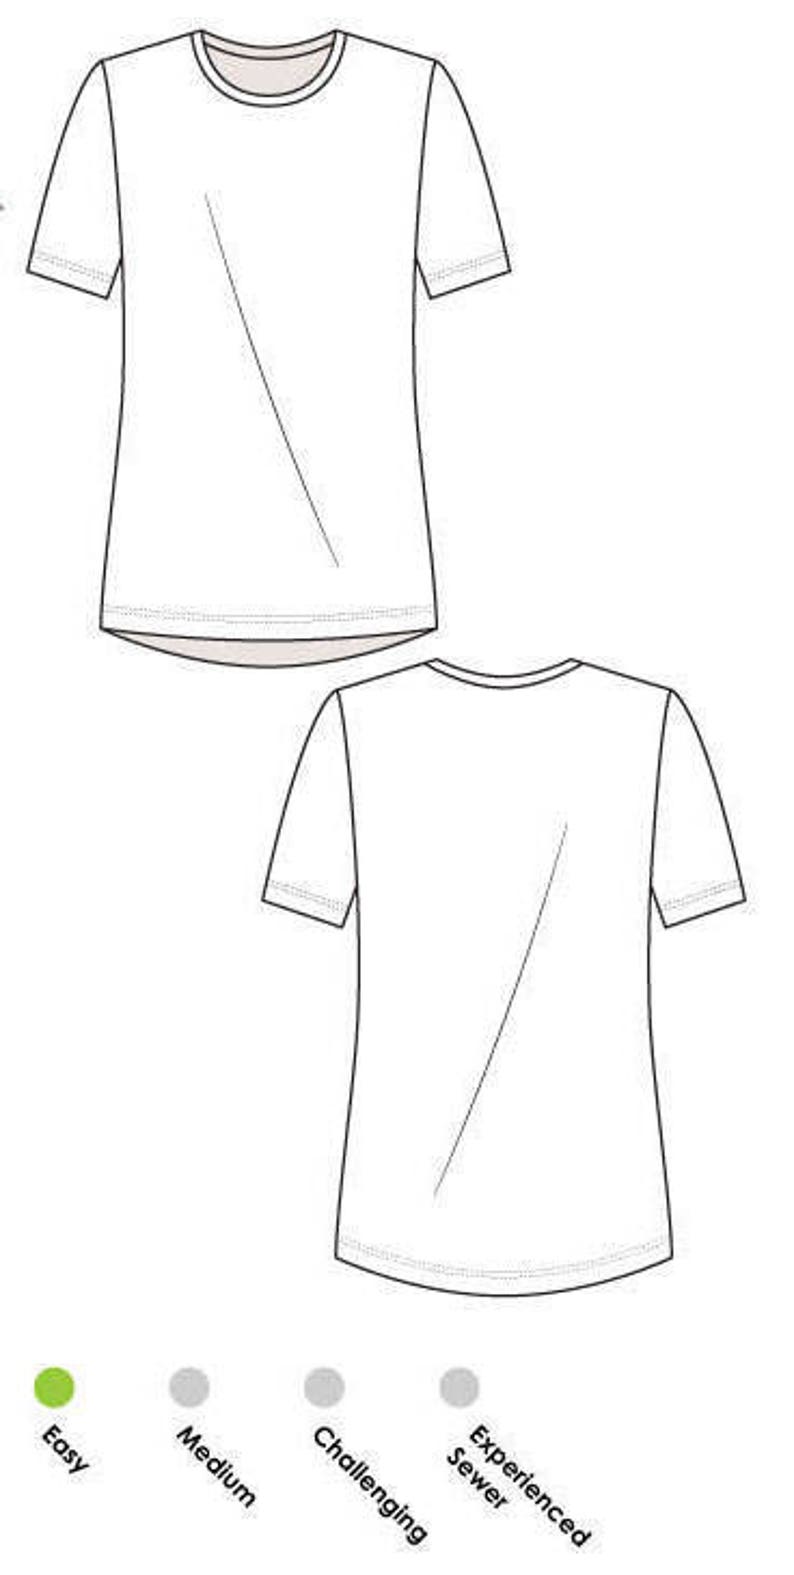
Today for you I have another top, this time an knit tee from StyleArc. I am such a SA fan!
Here's what this one looks like:

If you've sewn a SA pattern before, you know the instructions are very sparse. However, if you've made a tee shirt, you don't even need directions.
For this top, I was scrap-busting. The solid front was a remnant. The black lace was from my stash. It's a designer lace from Fabric Mart. You'll notice the back hem is longer than the front. It's also curved.
I used the lace on the sleeves as well. For the sleeves, I wanted them slightly flared. I slashed the sleeves in six places and put a 1/4" insert to add almost an inch to the total space. I had hoped it would flare a bit more but I should have known with the limited amount I added that it wouldn't be dramatic at all.
I didn't hem the sleeves. I found an area of the lace to just cut around and that design became the hem.
For the lower hemline, I used clear SewkeysE hem tape that was an inch wide. I like using one-inch hems in my knits so they don't curl. I used the same tape only 1/2" wide to stabilize the shoulders.
I found this tee a bit snug for me through the shoulder area. In measuring my shoulder breadth, I added across the back neck area between the points where the neck and shoulder join. I also added from the neck/shoulder junction to the shoulder area.
I used Designer Joi's method to fit the bust area. I so love her method!
Now that I have a good fit on this tee, you'll see more of these!
Thanks for reading!
Sue


Love this top! (Well...the truth is, I love everything you make!)
ReplyDeleteCould you post the link to Designer Joi's method for fitting the bust?
Thanks so much Amy! What a nice thing to say! Here's a link to Joi's blog. I took a class from her last summer and that's where I learned the technique. I also have her fitting books, which you can see on the blog link. I hope you find this helpful!
DeleteSue
https://dressformsdesign.com/designer-jois-perfect-fit-blog/