About Me

My photo
Sewing is therapy for me. I hoard fabric, patterns, notions, and spend more time shopping for fabric than I care to admit...
Showing posts with label Chambray. Show all posts

Saturday, March 9, 2019

Orageuse Helinski top


The winter doldrums have hit hard and the best solution for me is to start sewing for spring.  Someday, spring will arrive.  It has to, right?  

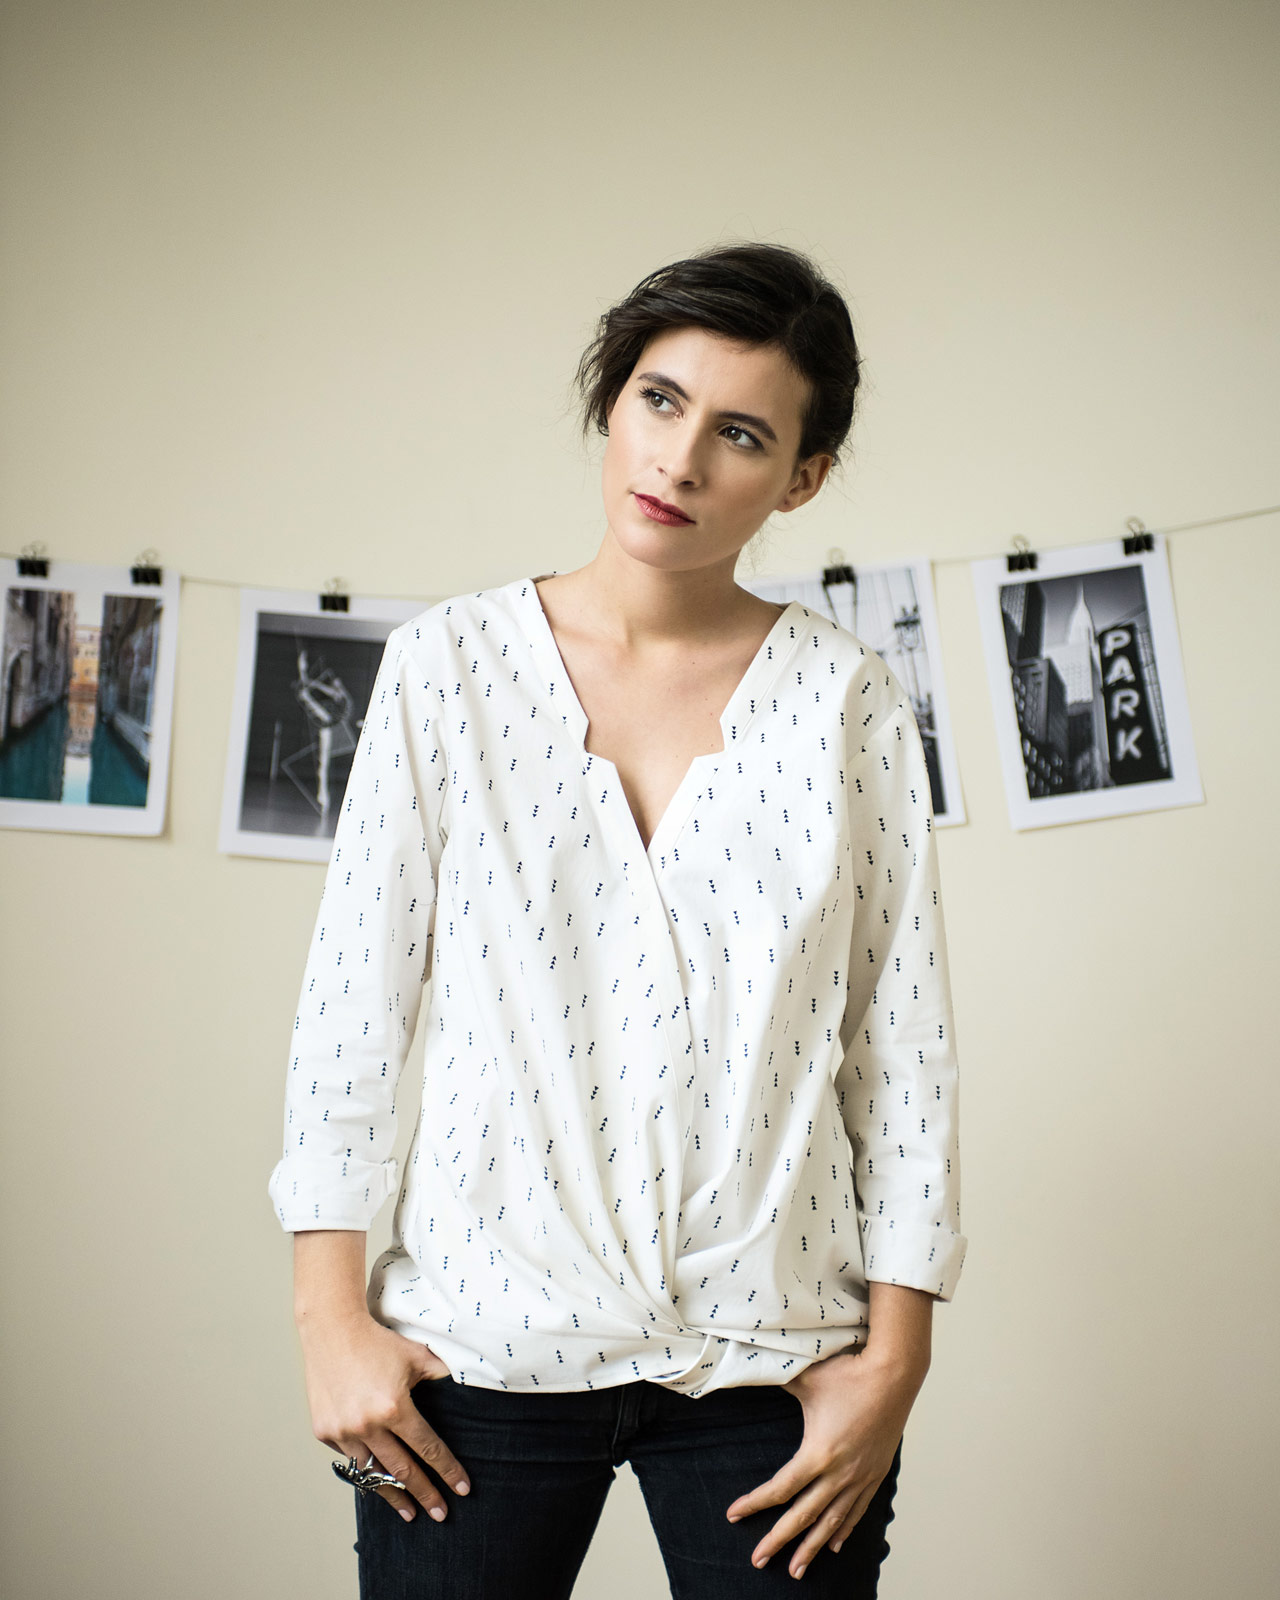
For this month's Fabric Mart post, I choose to use some Chambray.  I love working with Chambray.  It drapes so well and is such a workhorse of a fabric.  I've been eyeing some of the trendy tops and this one is the pattern I chose to use: 


Here's the link to the pattern company: Orageuse Helinski 

I love that deep V neck and that twist front.  How cute!!!  
Here's my version in the chambray:


Of course I modified this a bit in the sleeves.  I made three-quarter length but left the cuff on.  


My usual alterations include lengthening from the shoulder to the apex and the bust curve area.  I always then lengthen the back from the shoulder to waist to accommodate the front.


My top is longer than the models, not sure if she is a lot taller than me or not but I really like the length of this.  


Those little V's at the front and center back weren't difficult at all and give this a bit more interest that if they were just plain.  

I really love this new top!  It required a bit of hand sewing with the front bands but I enjoy hand sewing so not a big deal. 

Thanks for reading!
Sue 

Tuesday, June 6, 2017

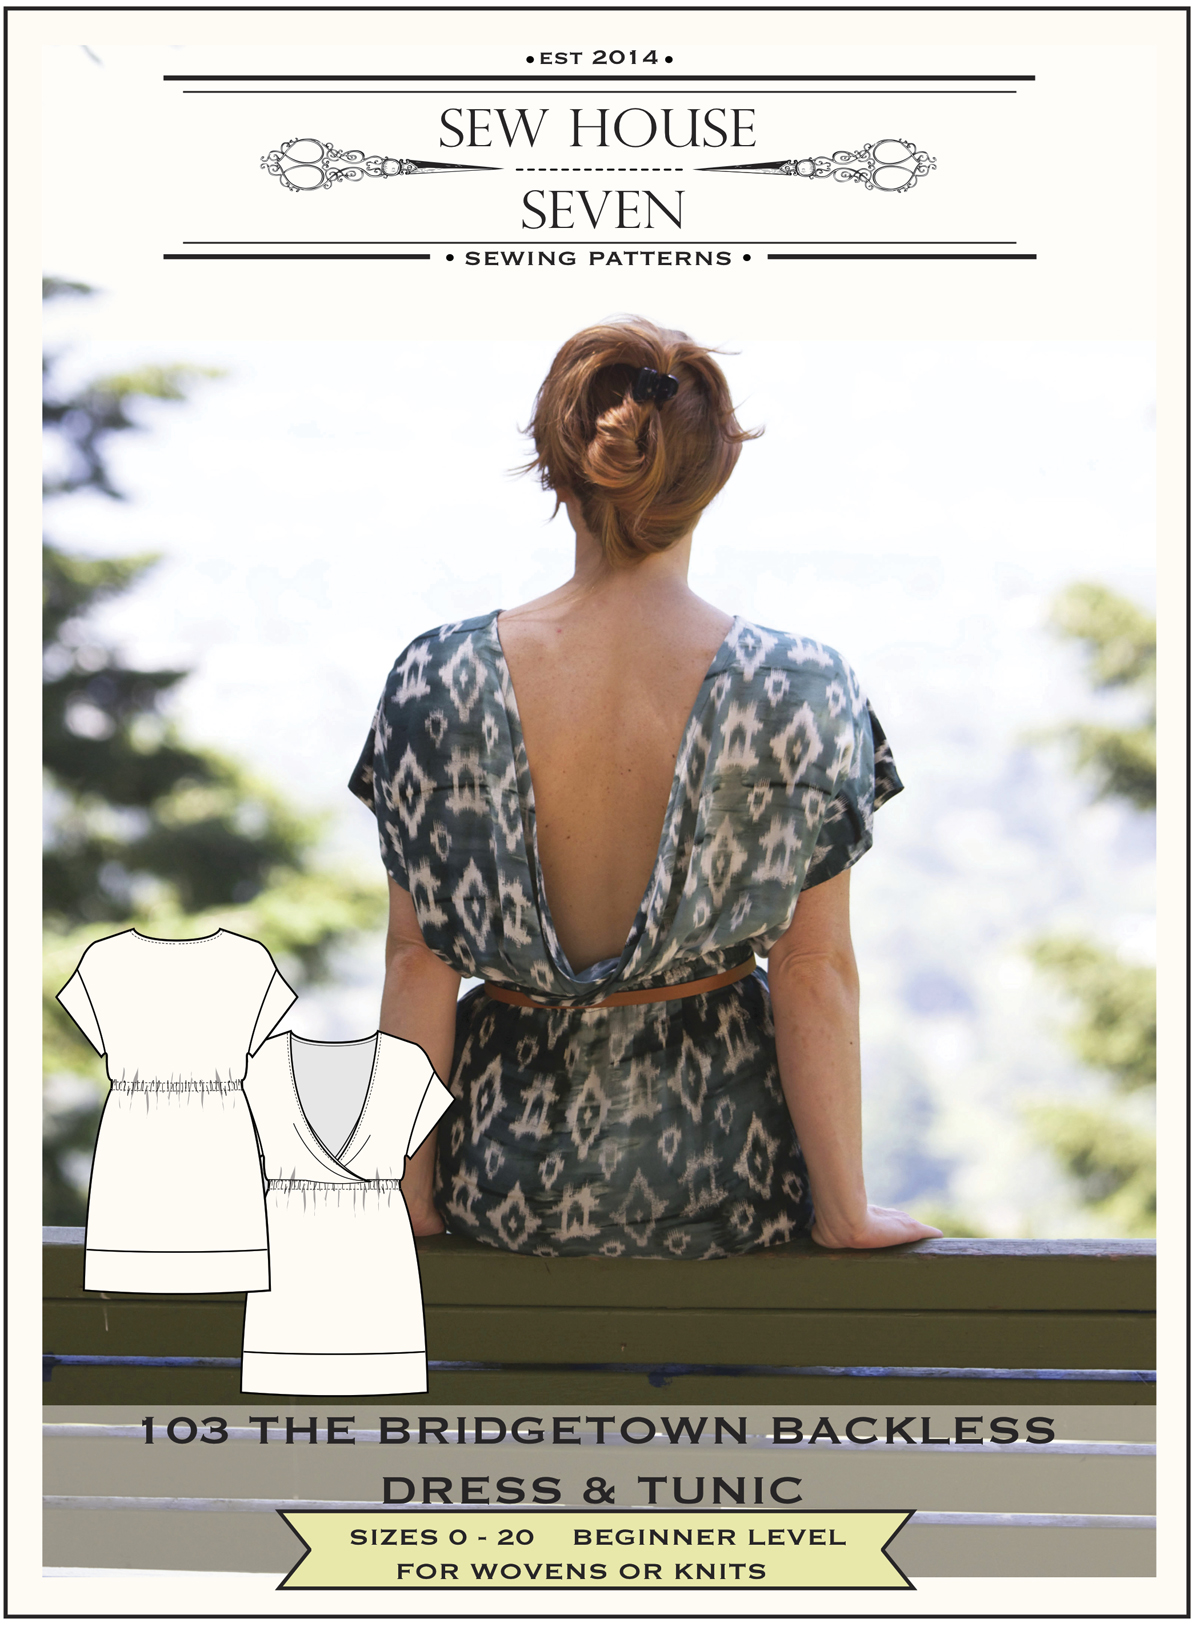
The Bridgewater Backdress dress by Sew House Seven

I have been drooling over this pattern for at least a year and now finally have created one of my own!

  
But, do you have lust over a pattern, purchase it, tape the pdf together, and then aren't as wowed as you'd hope you'd be?  
Welp, that's me.  I do really like this but I wanted to l-o-v-e it more than you can imagine.


                                    As you can tell, this pattern is by Sew House Seven.


We just received our new patio furniture today and my photographer told me to sit in one of the chairs for photos.


I happily obliged.  He told me to stick my leg up or something so I did.  


And then I did it again...why not?


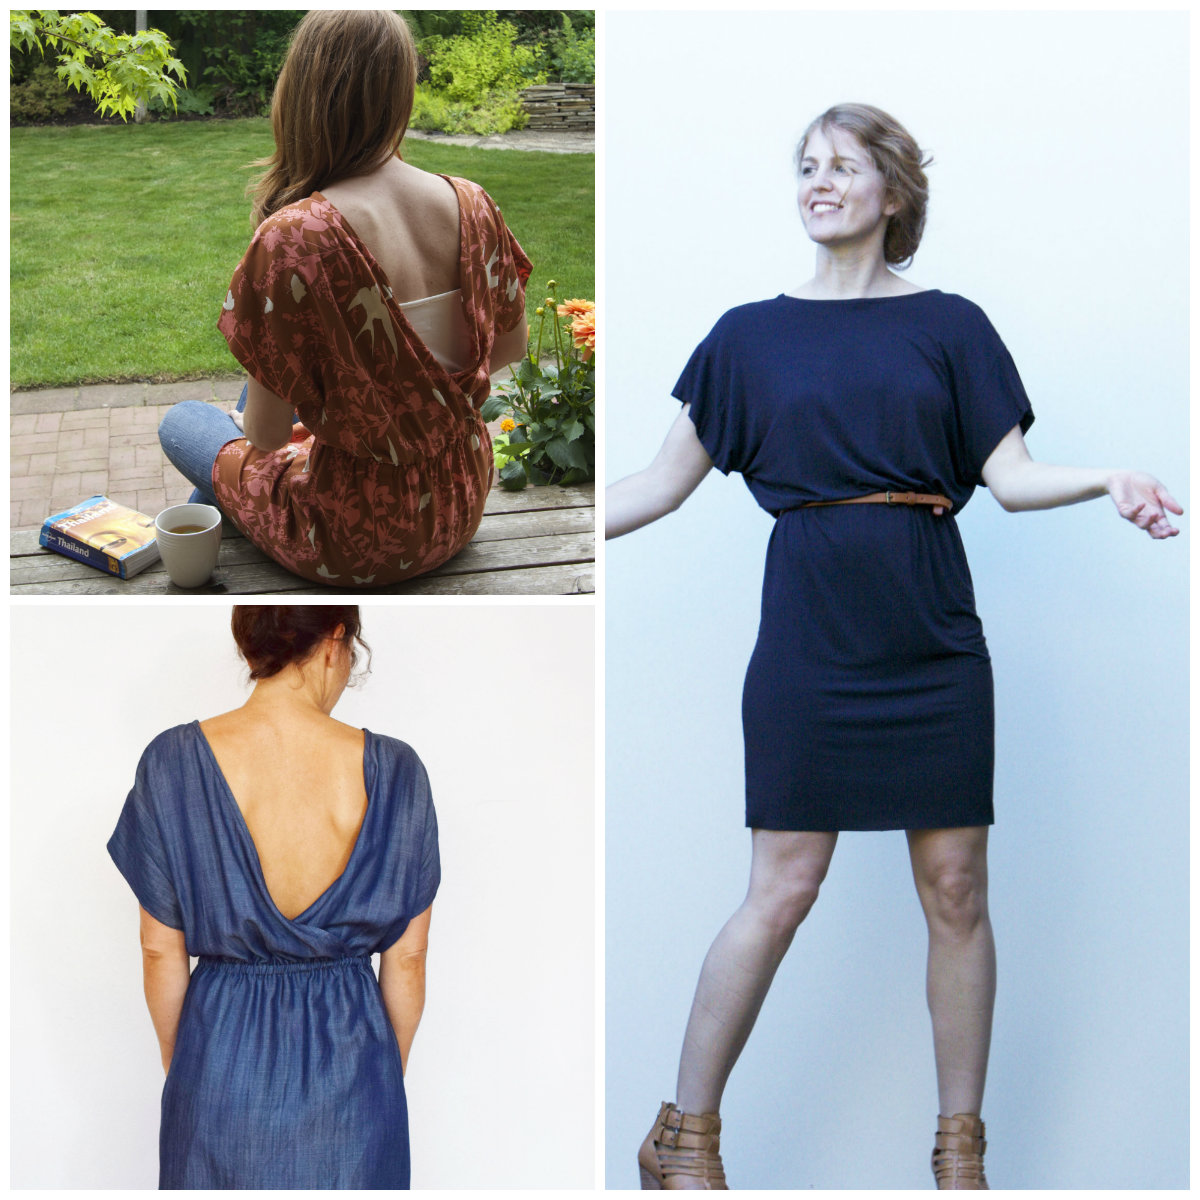
The back is what really makes this dress with that cute way it dips.  I am too old and too chesty to not wear a bra so I will wear a cami underneath.


There is a lot of side boob show so if you dare to wear this without a bra, be aware the world may see everything you've got.


I made a sloping shoulder adjustment but not an FBA. I also rolled the sleeves.  They look much better this way.  Another alteration was to take the lower portion of the sleeves in by 1 1/4".  It wasn't enough but I didn't want to take away from the overall design of the dress. 


See what I mean by side boobage?  Glad I am wearing a cami!  


I didn't have quite enough of this gorgeous lightweight denim or chambray and I wanted this to be dress length so I did the next best thing and grabbed a scrap of this blue lace to add to the bottom.  The chambray was from Fabric.com.  The blue lace is from JoAnn's.  I really, really love this chambray.  The maker is Telio.  I've purchased quite a few of their fabrics and have loved every single one of them!


I like it, DH wasn't impressed with the addition.  Doesn't he know lace is everything this summer?

Thanks for reading!
Sue 

Saturday, May 14, 2016

A little summer dress in chambray

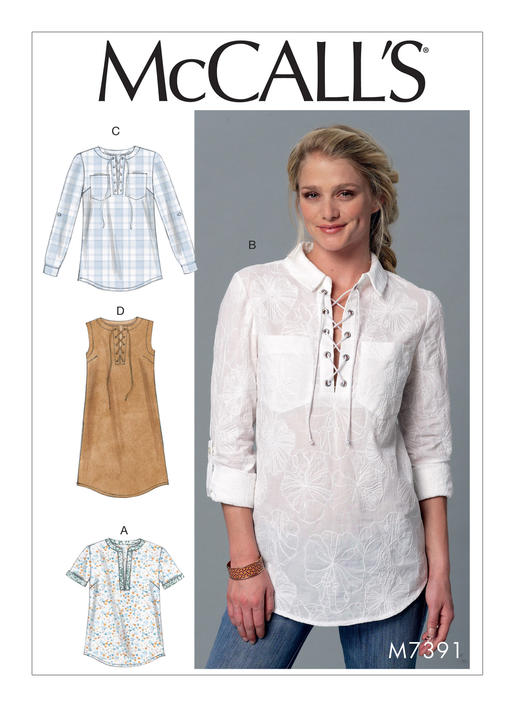
I love Chambray, it is super comfortable, sews together so well and looks great in so many ways!  I decided to make my May contribution to Fabric Mart based on a cute little McCall's pattern, 7391 in a dress.


I LOVE this fabric.  It is soft, holds its shape, presses beautifully, and the color!!!  My oh my, this is my ideal shade of Chambray blue.


I like adding little bits of hardware at times and since this pattern had grommets, I had to try it out. McCall's patterns are the ones I sew the most often and I know what steps I need to take to make the garment fit me.

McCall's Misses' Laced or Split-Neck Tops and Dress 7391

When you prepare your pattern tissue according to your fit, it makes construction very easy.  I made an FBA, swayback adjustment, sloping shoulder adjustment and that's it.  Although when you make a sloping shoulder adjustment you also must decrease the height of the sleeve cap and lower the armscye so the sleeve isn't too tight at the shoulder.


This pattern is stated as loose-fitting but don't believe it.  That would mean it has between five 1/2 and eight inches of ease from the bust down.  This dress has no where near that, but I could tell by looking at the photograph of the model on the pattern envelope.    I purposely made mine garment a bit snugger than that, more lie a semi-fitted dress.  And, I laced my differently than the pattern envelope suggests, just because I can.  :)


My serger was being serviced when I made this little dress and I wanted a very nice finish on the insider as well as the outside so I decided to make flat-felled seams throughout.  If you've never made flat-felled seams, don't fear!  They are easy and quite fun and give you such a RTW finish on your garment inside.


To make a flat-felled seam, sew your seams allowances with the typical 5/8".  Press the seam open flat.  Decide which direction you want your topstitching to show on the garment right side and cut the appropriate seam to a scant 1/4".  I like to use applique scissors for this step.


Next, press the untrimmed seam allowance under by 1/4" towards the seam you just trimmed.  Lastly, stitch close to the fold line.  If you've sewn accurately, pressed and trimmed accurately, you will have a seam that is very precise and looks very good on the garment right side.  When I stitch down the felled part of the seam, I use my edge stitching foot, move my needle over three notches, and increase the tension on my machine.  I love the results I get.  Below you can see the flat-felled stitching from the inside of the garment.


It is also fun to add an element of surprise to a garment whether it is inside or out.  Since my serger was out of commission, I added this bright pink bias tape to the lower part of the facing and used a decorative stitch to attach it.  I really like the pop of color when it is hanging up.  


This was a great, beautiful, and fun fabric to sew with.  Choose a pattern you love, get a great fit, accessorize, or keep it simple and sew yourself a great dress with some chambray!

Thanks for reading!
Sue

Monday, September 7, 2015

SPR's Sewing Bee and StyleArc Cyd top

StyleArc, you are my nemesis when it comes to keeping my stash under control...I can't resist your design lines or your stylish makes that are not only adorable but fun to sew!  Especially if you like challenging sews!

Fabulous pleated peplum top

Sewing Pattern Review is hosting a Sewing Bee and I am super excited to participate.  When I realized the first garment was a fitted blouse/top, I knew I wanted to make some other than a button up--although I LOVE button ups and have made many, I wanted to stretch my skills and try this pattern from StyleArc I have been eyeing for months--the Cyd top.  Look at those lines!  Look at how the shaping is created with the seams and pleats at the waistline.  I simply love it!

 
For my muslin/test garment, I cut apart a top I'd made last winter that I'd never worn because of the sizing.  It was too roomy and although I liked the styling, I felt like it didn't work on me without major alterations.  So, I did the next best thing and cut it apart at the seamlines and cut out a new top. Am I the only one who does this?


Cutting this out is fun--you have to pay attention and look at which pieces need cut once, twice, and ensure that all pieces are cut right side up.  This makes a huge difference in whether the garment will work or not.  If you cut out one piece wrong and don't have extra fabric, this will go in the dumpster.


I know that everyone remarks--including me--on how sparse the StyleArc directions are and this tops directions are better than most.  However, there are a few diagrams that make this easier so you can visualize what is supposed to happen.  Thank the sewing goddesses for small favors as these were super helpful!  One of the diagrams includes a visual of the seams marked starting with A and ending with E.  The next shows a photo of the inside of the garment with serged edge finishes.


And yes, there are two small errors in the text when it comes to the sleeves and right/wrong sides and also with the sleeve binding and folding it with right sides together--this should state wrong sides together.  But if you have sewing experience, which you really do need with this jacket, you'll have no issues of figuring out the correct way to put this together.


My fabric choice was a black chambray and it is probably a tad too heavy for this top.  Although I like how this turned out in my test/muslin, my second version was cut with a white rayon viscose from Hancock's.  I really love white tops and think this will work well for this garment with its lovely drape and color that will highlight the style lines.


I simply love putting in invisible zips and this one was no exception.  Careful snipping of the zipper tape and pressing are your best friends when it domes to inserting a zipper with precision that is required for the zip to be truly invisible.


I love my new top!  I love how it flares out from the bust and waist to the hips, fits me well enough that I don't have to make a full-bust adjustment and is so dang different from other tops in my closet. I'd love to draft a long-sleeve version and also a sleeveless version that I can wear under jackets in the winter.   I'll keep buying more StyleArc patterns because they are so cute and unique! Did I also mention they are fun to sew?


Can you believe how big my grandson is getting?
Thanks for reading!
Sue