About Me

My photo
Sewing is therapy for me. I hoard fabric, patterns, notions, and spend more time shopping for fabric than I care to admit...
Showing posts with label Skirts. Show all posts

Saturday, July 11, 2020

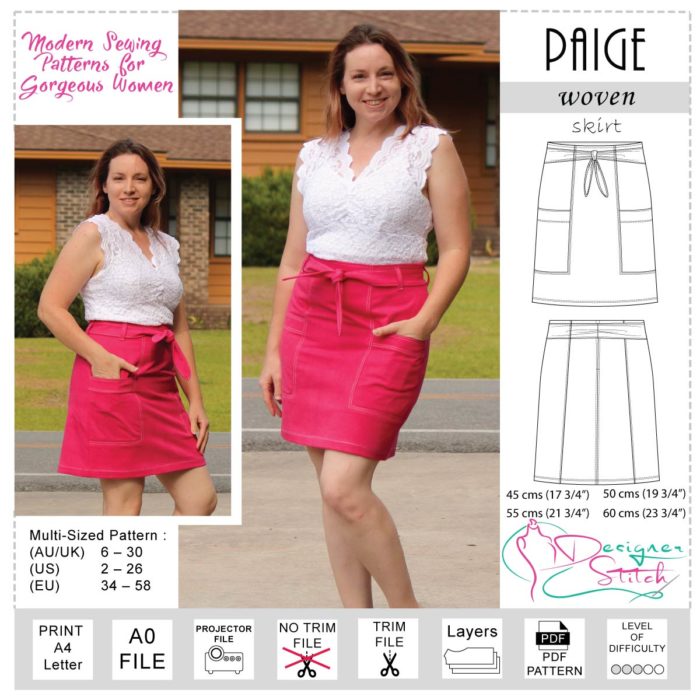
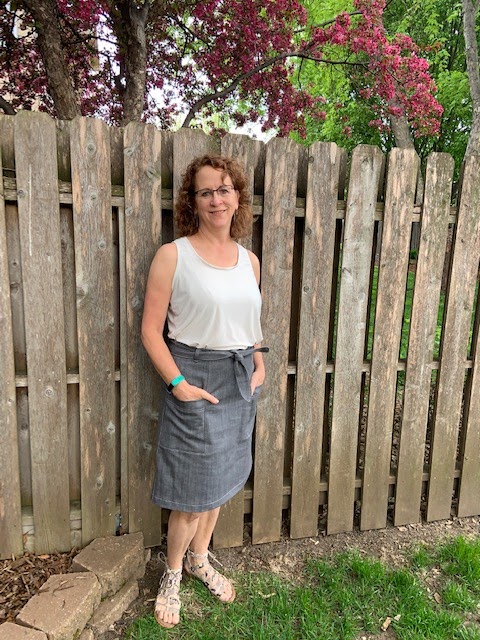
The Paige Denim Skirt....I was one of the lucky pattern testers!  
From the website: 
Make a splash for work or play in this sweet a-line skirt that offers great styling and fabulous panel details.
The Paige panel skirt has been cleverly cut so that it sits flat over the hips whilst still giving the look of a fuller skirt.
Here's a link to the website: 
Would you look at those design lines?  They are just gorgeous!  Don't use a printed fabric as the design will get lost in a print.  Also, don't use denim with stretch either.  It just won't turn out as nice.  

 
This is one of those well drafted patterns that is more than a basic design.  It's got style, goes together so well, and gives you a lovely result.  
Plus, if you nail that corner pocket detail, this skirt looks amazing.  It truly does.  

This denim I used was a remnant from a previous project.  I consider those garments to be freebies.  :)  

Try this pattern!  It's awesome!

Thanks for reading!

Sue 

Sunday, September 22, 2019

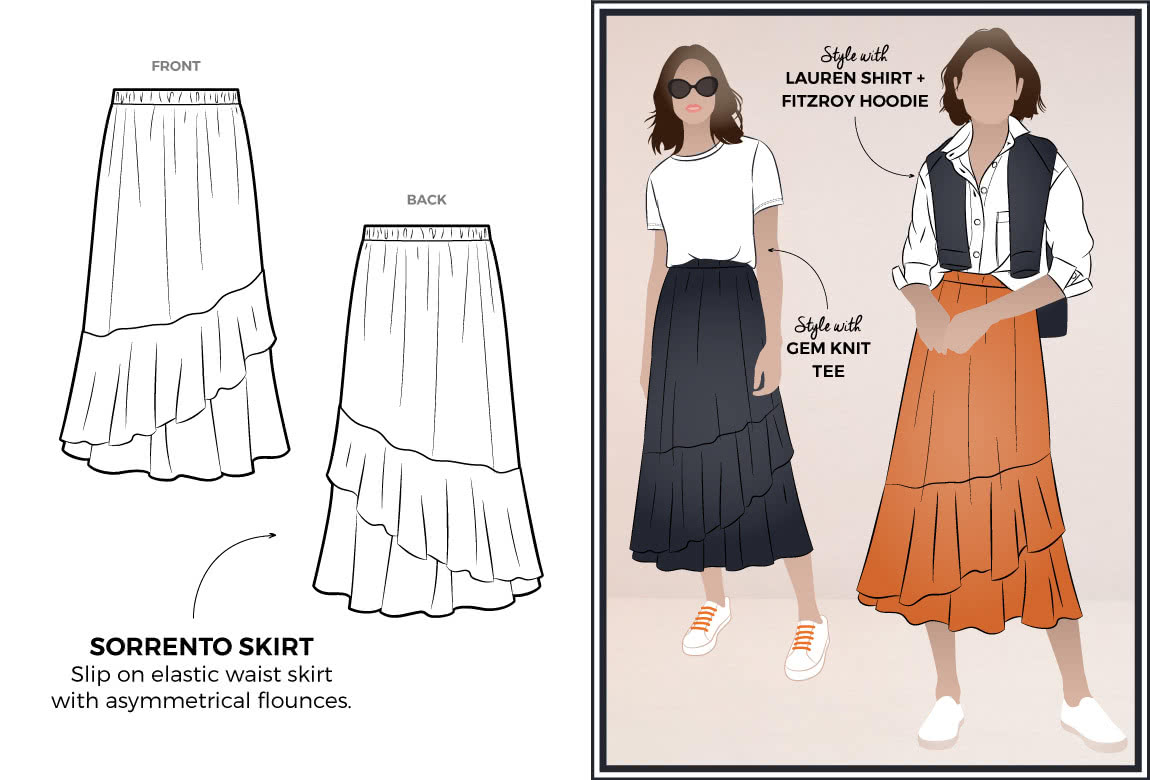
StyleArc Sorrento Skirt

Oh my goodness, have you checked out this newish pattern by StyleArc?  

Image result for images Sorrento Skirt Style arc

This is so on-trend right now with the midi length and asymmetrical flounces.  This is described as, "On-trend midi length skirt featuring asymmetrical flounces and an elastic waist.  The "A" line shape fall beautifully into a double angled flounce."  


What drew me to this pattern was of course, the flounces!  I am loving this look.  I feel like it's so feminine and flirty.  


This skirt sews up so quickly!  Honestly, it takes longer to narrow hem all those edges than it does to cut this out and sew together.


Use a fabric with excellent drape.  I used a crepe from Fabric Mart.  This is really nice fabric that didn't cost a fortune.


I am a huge fan of elastic waistbands and this one is cut as one piece that's seemed in the center back.  Even though it's elastic waisted, you'd never know.  It still looks polished and nice.


And that DRAPE!  I love my new skirt!

Thanks for reading!
Sue


Wednesday, August 7, 2019

Another Alabama Chanin Skirt Kit

This is at least my third, if not fourth, Alabama Chanin kit that I am reviewing.  There's something about the process of slow sewing that is so gratifying that I seem to have to have a project such as this going constantly. 
The school of making magdalena swing skirt diy garment kit 2

For this project, I used a swing skirt kit.  Everything was ready for me, meaning the fabric was stenciled, the fabric was cut into four panel, and the FOE was included.  I made an additional purchase of the embroidery floss from the AC site.  This is really nice, quality stuff!  It comes on a spool so it is easy to use. 

Here's my version:

This skirt is so easy to wear.  The sewing process is pretty simple, you stitch the layers together using whatever method you like.  I used reverse applique.  For this technique, you stitch around the motif and then cut away the center, basically reversing the applique process. 


I did some other stitches other than the reverse applique.  I also did some daisy stitching and some satin stitching.  I left the lower hem a raw edge and I like how it curls up a bit.


This skirt fits great at the hips and I love the length.  The waistline is a bit large, so I will most likely end up removing the FOE, taking in the waistline at each seam a bit, and reapplying the FOE.


The drape of this is really nice too.


Enough of me modeling this!  Onto some close-ups!


Here you can see the three stitches I used. After the reverse applique, you trim away the insides of the motif.  I carefully pull the front and back pieces away from other with my finger tips, snip, and then carefully trim about 1/8" from the edge.


This is some slow-sewing, but I find it very gratifying!


I machine stitch the side seams and the FOE on.  I love this process so much, I've already started on my next project!

Thanks for reading!
Sue

Friday, May 5, 2017

A skirt for spring

I love making garments that can be worn in the spring and this skirt is a quick make, perfect when you want to whip something up.

I wanted an  instant gratification project and this pattern was perfect: Pull-on tube skirt with angled design lines
This is the Taylor Knit skirt from StyleArc.  You all know I am a HUGE SA fan and this pattern didn't disappoint me at all.  It is drafted beautifully and the fit is exactly what I expected.


It was a little cold the day we took these pictures.  In fact, the following day, it snowed about 5 inches.  The date?  May 1st!!!  


I hope this summer I can wear this with a bright tee and sandals.  


There is just a dart to give this shaping at the sides.  Very clever!  


 The slit is just the right length.  It lets you walk and sit comfortably.


Here is a close up of the fabric I used.  I love the variegated stripes.  It is from JoAnn's and it performed really well.  Maybe JoAnn's is starting to up their game.  I hope so.  When I need an instant fabric fix, it is about my only choice where I live.


Next time I wear this, I hope it is with short sleeves and flats.


Thanks for reading! Sue :)  

Sunday, October 16, 2016

New Look 6288--more unselfish sewing....


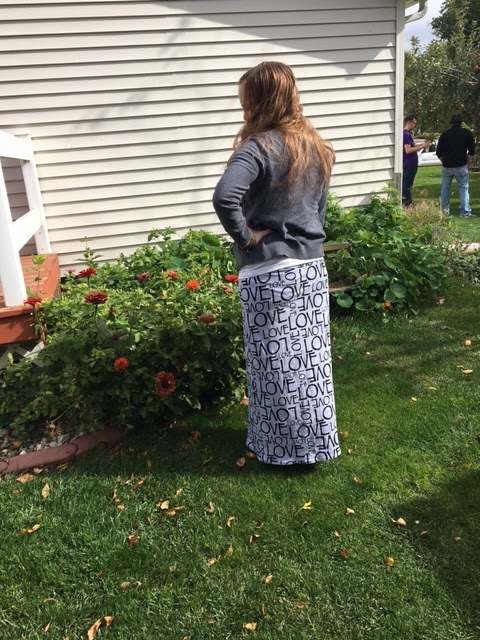
So I have two beautiful daughters.  One lives close by and has given me (well not given, but you know what I mean) the two most awesome grandsons! One lives far away and I've sewn up projects for her before but not as many as for Katy, or the DD that lives closer.  I decided to do something about that.  We went to a home party that sells women's clothing and she loved the maxi skirts.  I looked at the simple design and the fabric quality and thought that I can make her at least 4 of those with the price we paid for one.  


New Look Pattern 6288 Misses' Pull on Knit Skirts

So, being the good momma I try to be, I pulled out this pattern and let her forage through my stash and she picked three fabrics that I am glad she drooled over.  


Isn't she beautiful?  And look at that fabric!  This was a piece I purchased from Fabric.com.  I hesitated and told her she could have it only if she promised to love it as much as I do.  She quickly agreed.  Whew!  


She's quite a bit shorter than I am so I lopped about 3 inches off the length.  


There are so many pretty colors in this skirt that she can wear it with almost anything!  


Version 2 is this great print from Girl Charlee.  I made a tunic from it that I have never blogged about.  I really should do that since I just love it.


This knit had a more cotton-y feel than the first skirt did.


I also made a third skirt that we didn't photograph since this little fella decided he needed his mommy.  


This is a great skirt for a beginner or someone new to knits.  It stitches up very quickly and look how cute it turns out!

Thanks for reading!
Sue

Saturday, July 9, 2016

A little leather skirt: perfect for all seasons!

When summer rolls around, I start thinking about what I am going to creating for fall/winter.  Crazy?  Probably.


I've been wanting a leather skirt for ages.  I love sewing with leather.  It is so soft and supple and is actually quite easy to create something that will be in your closet for as long as it fits.


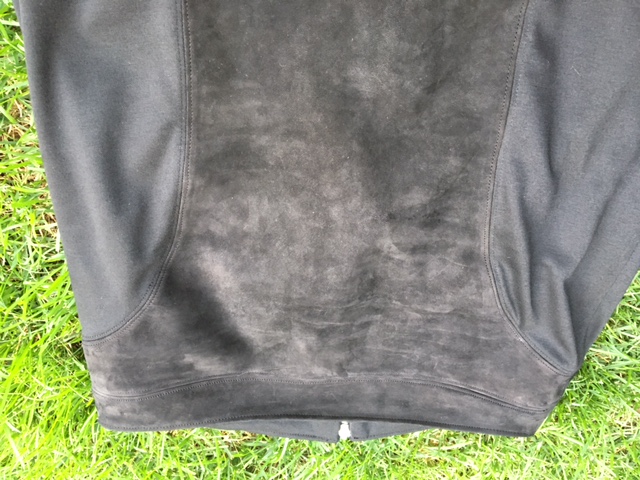
My leather skirt is only partially made of leather.  The other fabric I used is a rather stable ponte that was a remnant from a previous project.  I hadn't really thought about how to put these two fabrics together until very recently and was so surprised that no one addressed any special techniques or tools for sewing leather to a knit.  After clenching a rabbit's foot in my teeth, I experimented and I'll show you what worked for me.

Sorry this photo is upside down, but you can at least see the two fabrics I combined into one skirt.  


The first thing to consider when using leather is the needle.  There are specialty needles for sewing leather but I had no idea how they would work on the knit portion of my garment.  
Schmetz Leather Needles Size 110/18
Also, I typically have a large stash of different types and sizes of needles but I realized I was out of leather ones!  As luck would have it, everyone locally was out as well. I experimented and found out that universals, size 14 worked just fine, although if my entire garment was leather and none of the adjoining pieces were of another fabric, I would have panicked with a capital P!  From reading about the realities of sewing with leather, I learned that the wrong size needle and type and your thread can rip out of it just like tearing out a piece of paper from a spiral notebook.  No one wants that!  I increased my stitch length and after sewing a sample, I tugged and pulled and that seam stayed put. Whew!


Next I decided I needed to figure out how to finish my seams.  For this skirt, I knew that I would use a straight stitch, clip the seams to about 1/4", press the seams open and then topstitch.  This worked just great and since leather nor ponte frays, this was a fast and easy finish that also looks professional (at least I think it does!)


I also purchased a Teflon coated foot a while back that made gliding over the leather so much easier! Easing up on the amount of pressure the presser foot applied to the two layers also helped feeding the fabric through.

My pattern choice was NewLook 6312.  This is a simple pencil skirt with some nice details.  When sewing with leather, if you aren't seasoned, you'll want a simple pattern with few pieces.  I knew this pattern would work great with my leather and ponte fabric.


I made a muslin as one thing you MUST know with leather is that a needle hole in PERMANENT in the fabric.  Yes, I know this picture isn't the greatest, but it does show how much I had to work with this skirt to get it to fit right.  I used pattern weights when cutting out my skins and wonder clips to hold the edges together when sewing the skirt.  


I changed this pattern up a bit by adding an exposed zipper up the back.  Many patterns call for a 7 inch zip but I like to use a 9 inch one so it clears my hips more and doesn't strain the lower end of the zip.  


For the exposed zipper, here is how I prepared the seam.  I stitched from the hemline to the zipper notch using a 5/8" seam.  Next, from the waistline to the zipper notch I stitched using a 7/8" seamline, pivoting to connect the seams at the notch.  Clip the corners and then press down those little triangles along with the seam allowance.  I use steam-a-seam on the zipper tape to position the zip.  


I love the fit and comfort of my new skirt.  It can be super casual....


Or dressier....


Black can be so hard to photograph!


Thanks for reading!  I really love your comments....are you sewing for fall/winter yet?

Sue