About Me

My photo
Sewing is therapy for me. I hoard fabric, patterns, notions, and spend more time shopping for fabric than I care to admit...

Monday, July 30, 2018

Playing with fit, McCall's 6886

Recently I attended a workshop where we talked about fit and I realized I have a lot more work on achieving the perfect fit.  I choose to work with my current favorite, McCall's 6886.  Knits, I feel, are much more difficult to get a great fit on because well, they show everything you've got and then some.  I thought that in working to get that just-right fit, I needed to work with knits.  

In case you've been living under a bridge and haven't seen all the hype about this pattern, here is McCall's 6886.  
Image result for images McCalls 6886
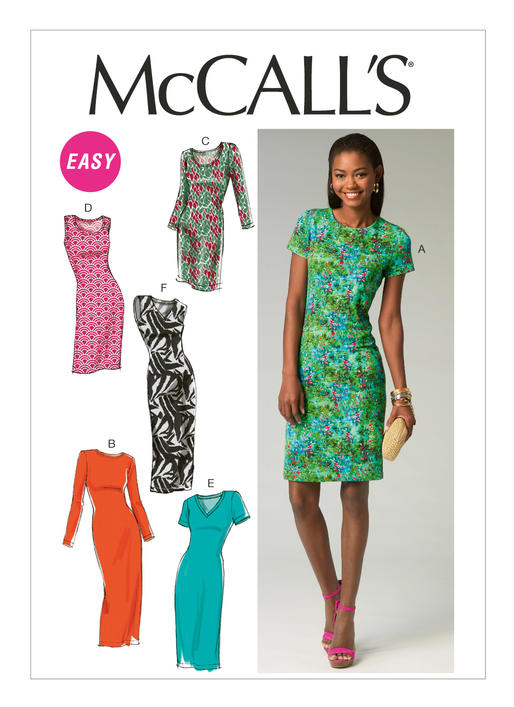
There are so many adorable versions of this dress.  The pattern is well drafted, has a variety of reviews, and is such an instant-gratification project.  

Here's what I did.  


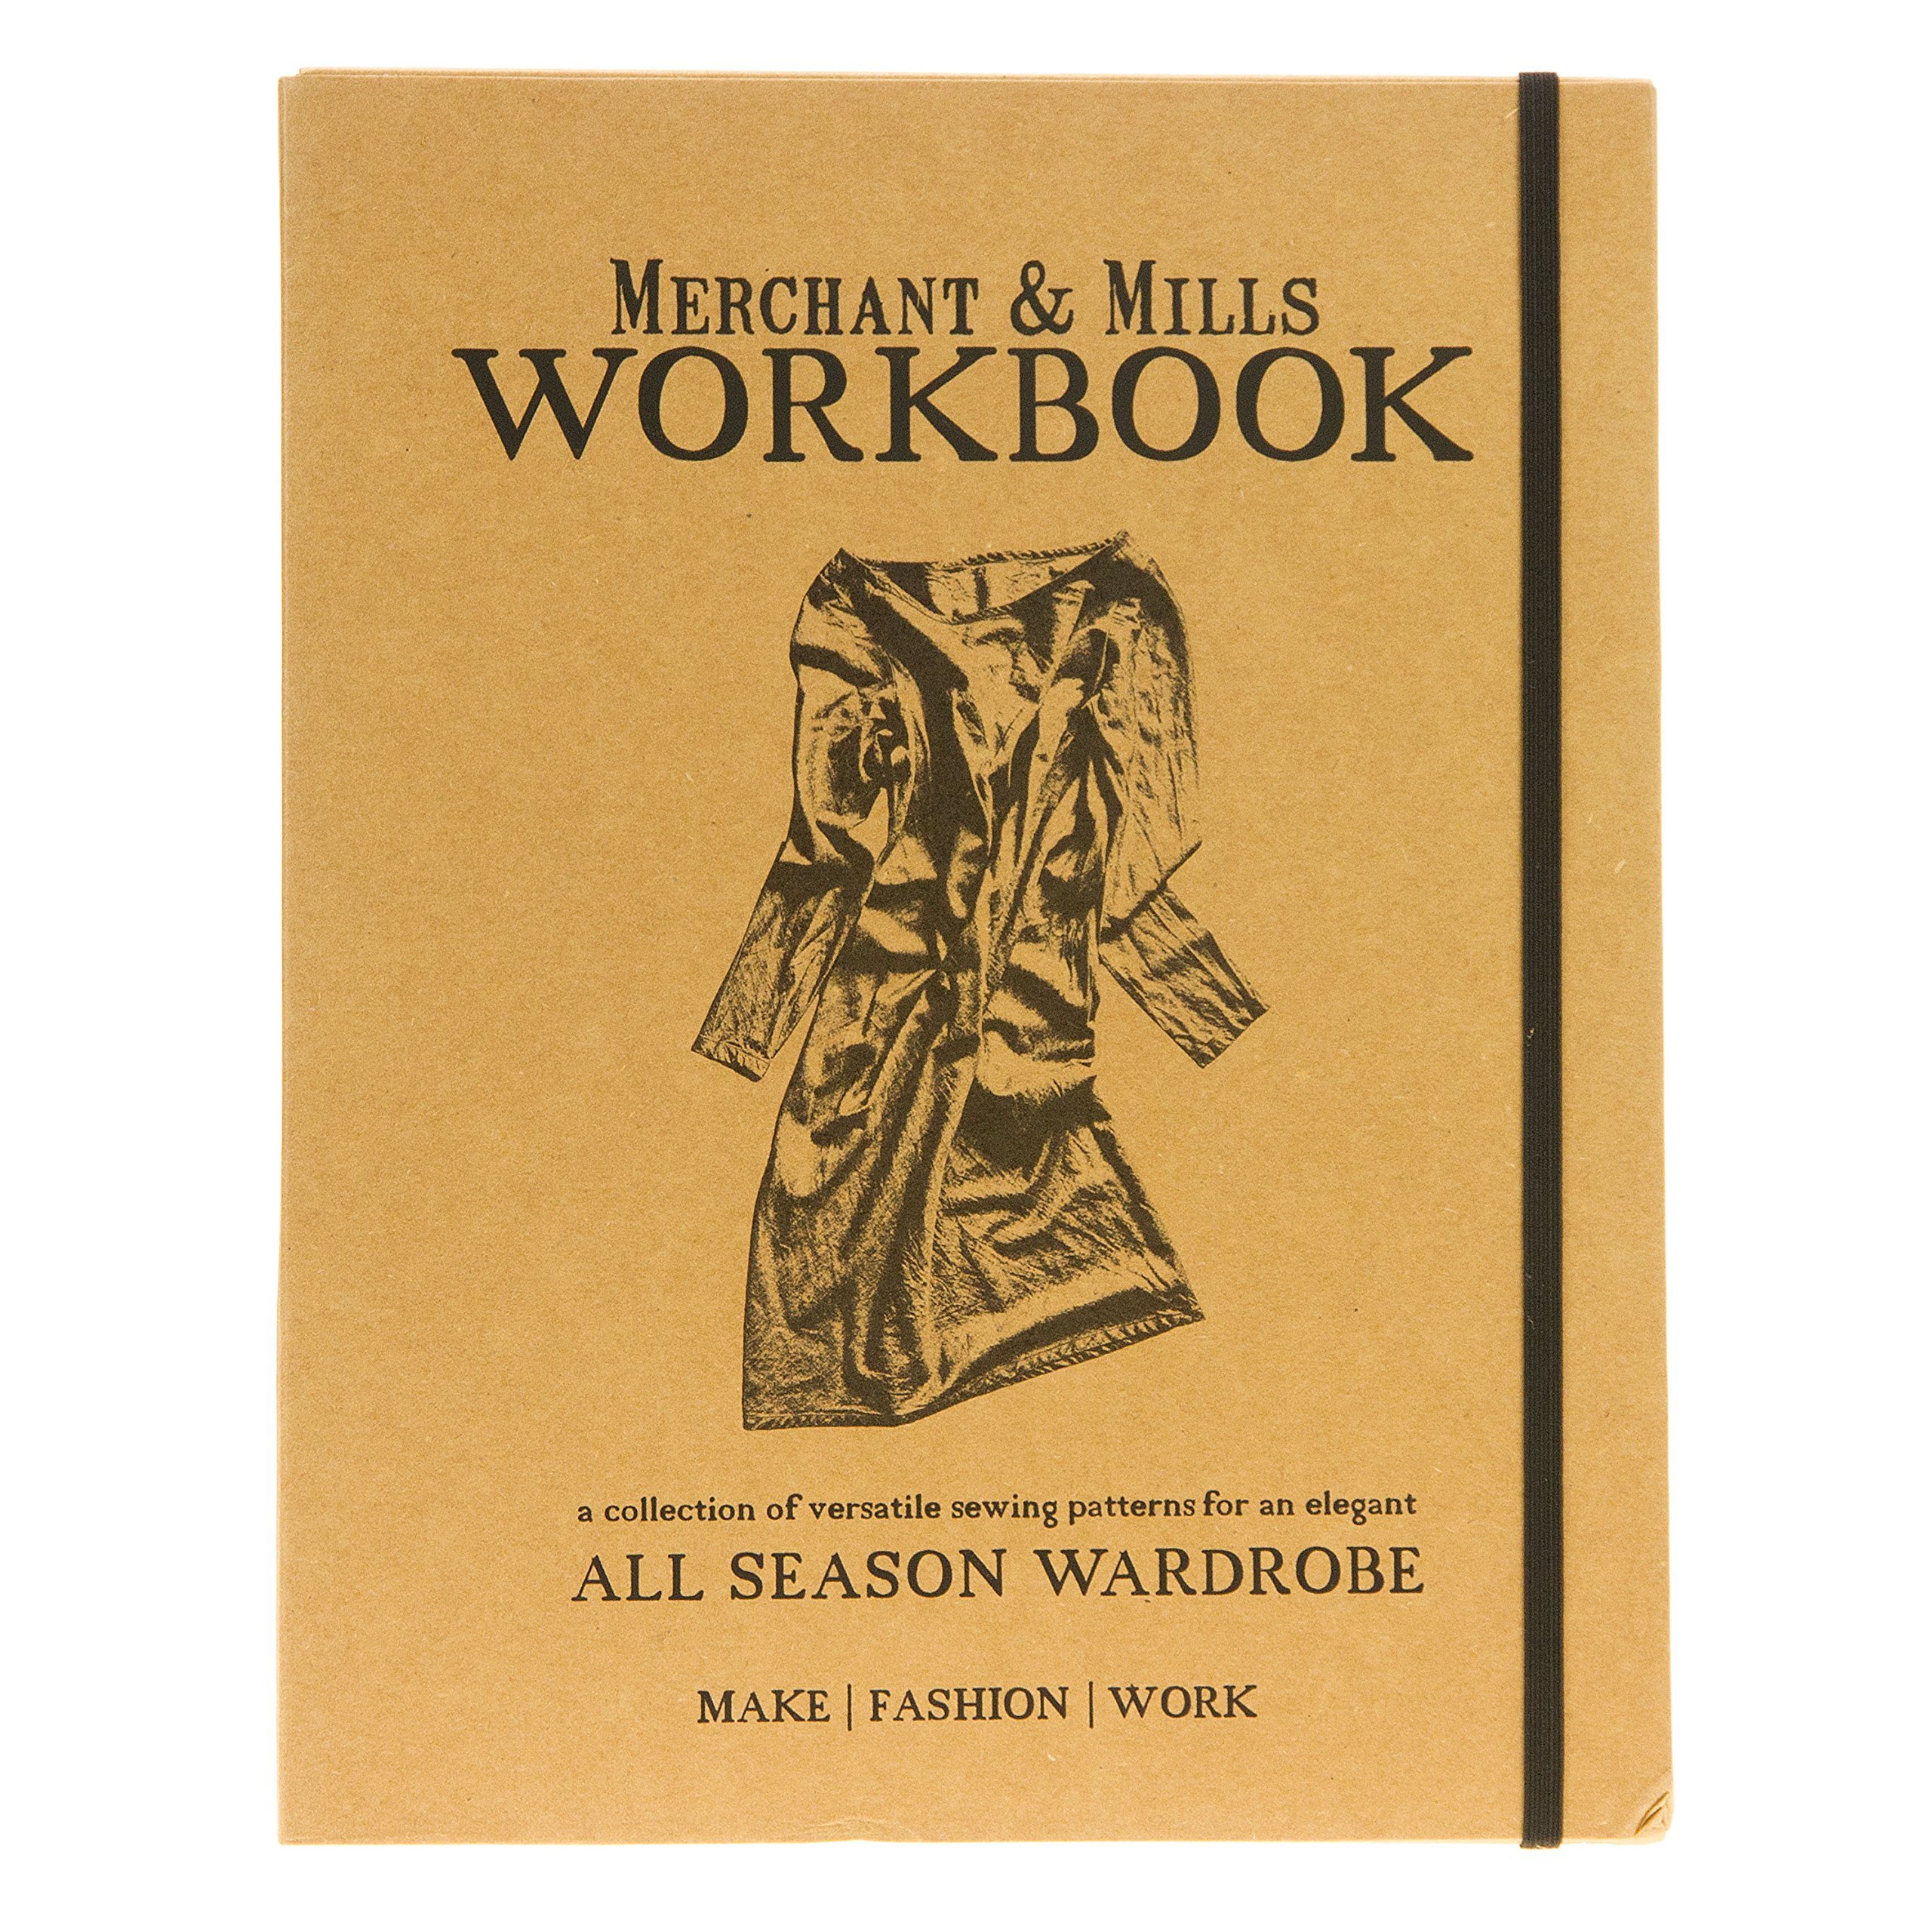
I used a book by Designer Joi's book, Creating the Perfect Fit.  This book has you work on your fit by dividing your body into numerous quadrants and then dividing those even smaller.  I've never seen a system like this and I must say I am quite smitten!  


Don't confuse movement lines with flaws in the fit.  And, I should also note, I am much too old to have something fit skin tight.  Not only would that look dreadful but that just isn't me!  In order to deal with my swayback, I added a seam line vertically across the back waist.  This seemed to be the best solution given my fabric choice.  


I will say however that I do need to work on the fit in the bust area or the upper under arm.  I will have to read more and experiment more to figure this out.


Yes, very dumb look on my face!  When the hubby takes photos, he manages to catch the worst looks!


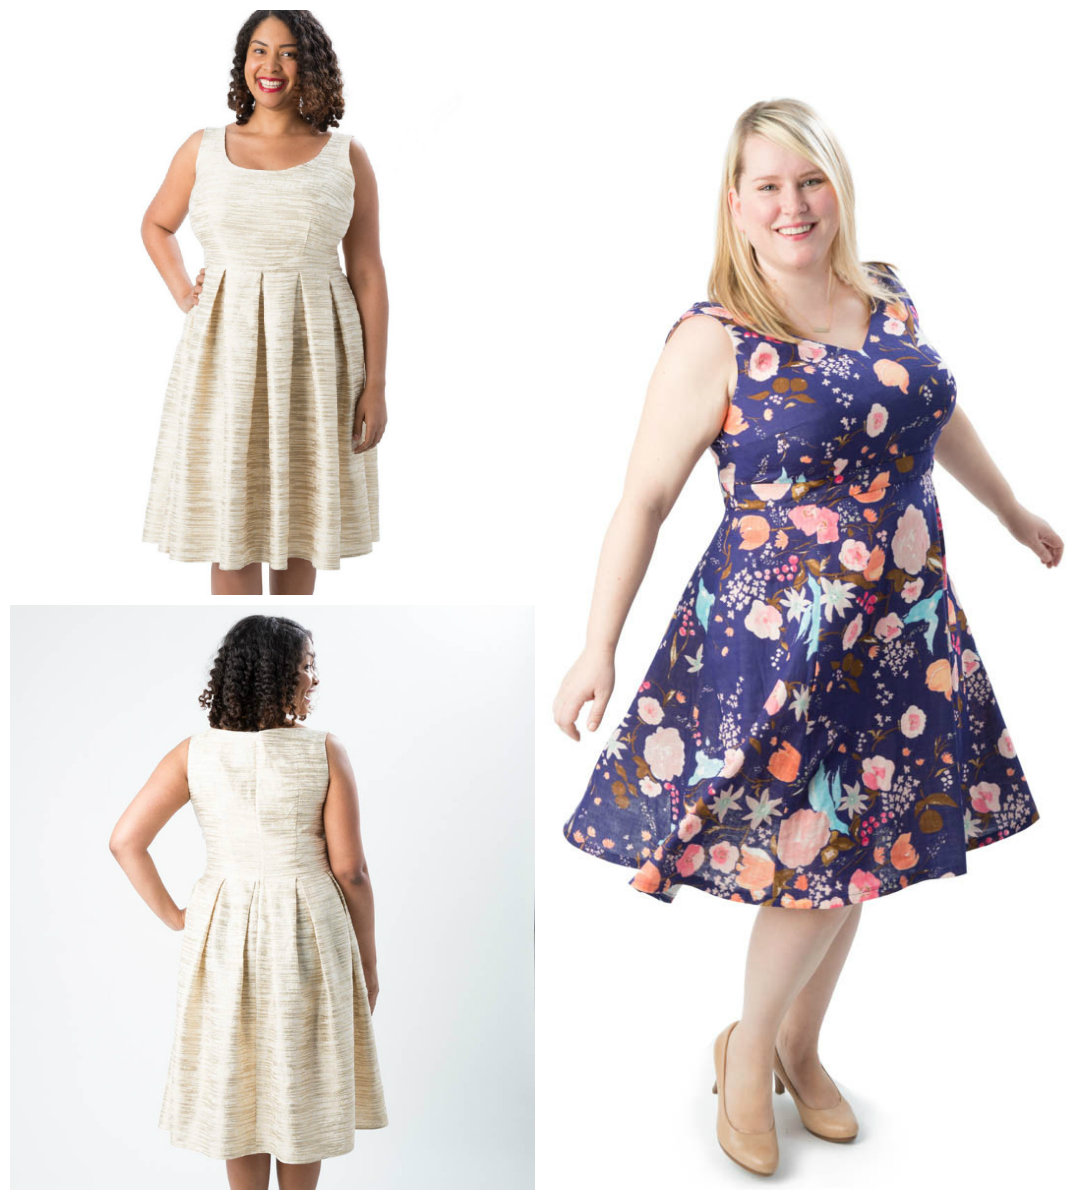
I like the v-neck on this a lot!  It isn't too low but still gives you a different look.  


Here's a close up of the v-neck. 

I used a Stof knit for this dress and I am so in love with the fabric!

What are you working on in your sewing goals this time of the year?  Do you have any inspiration to share?

Sue :)


Thursday, July 26, 2018

Playing with strips (and polka-dots!) Deer and Doe, Datura


Stripes and polka dots!  Love them both and knew I wanted to combine both in this top.  


I fell in love with this stripe.  I purchased it at a quilt shop about an hour from my home.  I had no intention of using it for a quilt, I knew I wanted a top from it.  I also thought I had purchased enough to make what I intended but I came up short so I found a pattern that would work and had a Tim Gunn moment!  

This polka-dot is from my stash and I knew I wanted to have some fun and play with these fabrics together.  


This pattern is from Deer and Doe and is called the Datura Top.  I made this last summer in a denim that I just love!  This version is the other view of the top.  


 As you can see, I added piping to the collar and at the center back, I added a wedge of the same fabric.  The pink collar is from the same quilt store I purchased the stripe from.  

Datura blouse


I almost forgot to add that I included an exposed zip--just for fun!

This pattern is very well drafted.  I just made sure the bust dart hit me where it needed to and that this fit well before stitching up.  


Really, that's it!  I now have a very colorful top for the rest of the summer!

Thanks for reading!
Sue 

Yet another version of McCall's 6886

Have you seen enough of this pattern yet?  
Image result for images McCalls 6886

Please say no, as I feel like I am just getting started!  It's such a blank canvas to let your imagination run wild! 


This is such a simple, simple design that is really well drafted.  Every version I've seen looks great!  This is also a great pattern to hack to your heart's content, which is what I am going to experiment with in the future.  

Here's what I did with it this time.  

I am sort of obsessed with Alabama Chanin's embellishing lately land this time, I wanted to add some 'stripes' to my fabric.  When I talked to DH about this, he was skeptical and thought the dress would look like something made in a weekend craft shop.  Tsk, tsk! I hoped he was wrong, but wondered the same thing.  Since both pieces of the fabric I was planning on using were left overs from other projects, I decided to give it a whirl anyway!

Here is what I came up with: 


What do you think?  

Of course you can see I hacked the pattern to color block it.  


Of course you can see where I added the hand embroidery to the strips of fabric to make my 'stripes'.  


I used Chanin's embroidery book,The Geometry of Hand Sewing.    It has very clear illustrations and a helpful plastic template to assist you in marking where your stitches will go in order to create symmetrical designs.  


For my embroidery, I knew I wanted a contrast color and I love this mustard-yellow with the gray and white.  This is just plain ol' embroidery floss from Hobby Lobby.  I separated it into three strands and just went to town!  

For the hacking part, I cut the bodice and skirt separately and sewed them together.  I pinned the lower and upper half together and manipulated the length of each until I was happy.  

I am really in love with this dress!  When I showed it to DH, he was so very pleasantly surprised that he simply stopped what he was doing, smiled his little half-smile and said, "Wow!"  Isn't that one of the best compliments of all???

Thanks for reading!  What is inspiring you lately?  Do tell!

Sue 

Tuesday, July 17, 2018

Cashmerette Upton dress!

When I first saw this pattern, I knew it would be a winner!  The styling is so cute!  I simply had to make it! 
Image result for images Cashmerette upton


I made a size 12, the smallest size in this pattern range with the C/D cup.  I love how Jenny includes separate cup sizes for you.  This takes all the guess work out of making a garment fit properly!


Can I tell you how much I love this fabric?  I found it on clearance at Hobby Lobby.  It is actually upholstery fabric which is a choice that Jenny recommends for this dress. 


I was concerned it might stick out too far at the hips, but I don't think it does.


It seems to be the perfect weight for this dress.


I eliminated the bodice lining, raised the neckline an inch and a half and that's it.  To deal with the neckline and armscye finishes, I created matching bias tape.


I love how this fits and I really, really love my fabric!  Even though it is an upholstery, it is washable and it washed beautifully!  Can you see how there isn't any gaping at the arms? 


I see more of these dresses in my future!
Thanks for reading!
Sue 

Sunday, July 15, 2018

Cyntial Rowley in BRIGHT pink! Simplicity 2406

I've had this pattern for a l-o-n-g time and finally decided to just create it!  

Image result for images Simplicity 2406

I read a great deal of reviews all over the web and decided the sleeves might be a bit tricky, but I thought I would be able to figure them out.  And I did!  They weren't tricky but you do need to pay attention to what you are doing, stitch one seam at a time, press so very carefully and don't over think it.  

Here's my dress!  I love the shocking bright pink linen I used from Fabric Mart.  This was my make for this July's post.  I really love linen and this is such a nice linen fabric!


Here are those sleeves that I thought might be an issue.  They weren't.  What's really cool about them is that they are completely and utterly enclosed in seams so no hems on the sleeves whatsoever!


I was trying to decide if I liked the belt tied in the front or back.  That's still up for debate!
The back slit is pretty low, so I wore a black cami to match my black sandals!


There's another view of those dramatic sleeves again! 


This was a fast and fun make!  I love my shocking pink dress!

Thanks for reading!
Sue

Tuesday, July 10, 2018

McCall's 7122 embellished!


I have been eyeing the Alabama Chanin designs for so long and I tried embellishing on another garment and I simply love it.  I wanted to give this another try.  Here's what I came up with. 

I used this pattern from McCall's: 

An oldie, but a goodie!

I made the cap sleeve version of B but with the length of D.


I choose to embellish the bottom of the dress front and on the center upper back.


I like the contrast of the magenta with the blue.


I could have done a lot more but I am still playing with how this technique works best and don't want to commit to a huge project when I am in the learning stage.


I have always liked the fit of this dress.  It's comfortable and with the organic cotton, very soft.


Here you can see what I did on the back.


I pulled up the dress so you can better see the hemline.


Here is a close up of the work.  You can see my 'thread' is variegated.  Actually, I didn't use thread at all but yarn for knitting!  On a whim, I stopped at a local knitting shop to look for unique buttons and stumbled across this yarn.  It's 100% cotton, super soft and I really like the colors.  


The yarn was small width wise, but still a bit thick for hand sewing so I separated the strands in half and used 3/4 strands to sew with.


I used some magenta on the neckline to balance the design at the hem.


This is what the hand sewing looks like on the inside of the garment. 
Just a few notes, Alabama Chanin hand stitches their garments and leaves them unhemmed.  You can see by my photos, I did neither of those things! I machine stitched the entire thing and in between the areas on the hem, I added machine hems.  Maybe someday I will be able to sleep at night if I leave a hem undone, but for now, it ain't happening.

I like this a lot!  It's unique and since I love maxi's so much, it fits with my wardrobe quite nicely.  I will be looking for more ways to make these sewing techniques work!
Thanks for reading!
Sue

Merchant and Mills Bantam top/dress

I simply had to make something from Merchant and Mills.  Have you seen their site?  Here is a link if you are interested: Merchant and Mills

I love the simplicity of their designs and the way their garments are executed.  This pattern is super simple but I really love it.  It comes from this book: Image result for merchant and mills workbook images
Here's a line drawing of the pattern from the book:

Image result for merchant and mills workbook images Bantam

This is a photo from the book I found on Pinterest.  

Image result for merchant and mills workbook images Bantam

See what I mean by super simple?  


This one, is by far my favorite.  I used a cotton that was prepared for ice-dying, and I had a blast dying it last summer.  I love the colors and the pattern.  No two pieces ever turn out the same so this was a lot of fun for me!


Using the book as a guide for my sizing, I decided to go with a large and whoa-boy it was HUGE!!!  I took about two inches off each side seam.  I would say I ended up with somewhere between a small and a medium.  With a pattern like this, I think it is better to err on the side of caution and cut it a bit bigger as you can always take it in.


You'll notice on this version that I decided to have exposed bands at all the edges: neckline, armscyes, and lower hem.  I didn't want my fun fabric to hide on the insides!


If you have the right bra, this is a bra friendly design. 

After this success, I decided to lengthen the pattern about 12" and make a dress.  


This time I used this shocking pink linen! 


The hubby thinks this looks trashy, but I don't.  What do you think?


To me, it is perfect for lounging around on a super hot summer day, or wearing it to run errands.


If you've never tried M & M patterns, do give them a try!  I am going to make the skirt next from the book I showed at the beginning of this post.

Happy sewing!
Sue