About Me

My photo
Sewing is therapy for me. I hoard fabric, patterns, notions, and spend more time shopping for fabric than I care to admit...

Sunday, November 27, 2016

Harlow, meet Telio!


Do you lust over StyleArc patterns as much as I do?  When this one first came out, I snatched it up.  Do you blame me?
Swing top with on trend bell sleeve

This is a simple swing top with split lower sleeves that are bell shaped.


What drew me to the top were the sleeves of course!


I really, really, really love my fabric choice.  It is by Telio and I purchased it at Fabric.com.  It is rayon and has a beautiful drape, perfect for this top.  


This was super simple to put together.  I would say it was less that 2.5 hours start to finish and I was taking my time!


I love how this floats from me in the front.  


See that dramatic split sleeve?  I lengthened the slit.  It was supposed to be only 4 or so inches, but I made my at least 5, after it was hemmed.  If you are going for drama, go big!


Those sleeves are so cool!


This isn't the best photo of me, but DH caught me mid-swing.  

I love my new top!
thanks for reading!
Sue 


Saturday, November 26, 2016

I made a cape! The Nell Cape

I've wanted a cape for like forever and I finally got this one completed!  I just love this pattern.

Fashionable cape with bound edges and inseam pockets

The pattern is described like this: The versatile cape has become a wardrobe staple.  Easy to wear over your jeans or a more tailored look for the office.  Great for cooler days the Nell cape is a must have.  Unlined with bound edges and seams gives this cape room for your creativity.  Whey not use a contrast or printed bind for an individual look?  If your prefer not to bind your cape you can use a lining and then turn it out.  


Just a note, this is a challenging sew for an experienced sewer.


I used a medium weight wool coating that was in my stash.  The floral lining is from Joann's and is a stretch chiffon.  It feels really nice against my skin.  


The binding is a Kona cotton.  I much prefer to make my own binding as it is such better quality and I can get an exact match to my main fabric.


I included the facings with this even though I choose to bind the edges.


For this cape to work, it needs to fit you at the shoulders and upper bodice.  The rest just sort of floats about your body.


See how pretty that chiffon looks as a lining?  I treated the lining and main fabric as one piece as I sewed this together.


All those bound edges were sewn by hand on the inside that is after I stitched them on by machine.  I love how polished it looks.  


If you want to wear this with bulky clothing underneath, I suggest you measure the armhole opening.  I am wearing a thermal long sleeved top and I have plenty of movement and room left over.  However, had I worn a heavy turtleneck, it may be a touch tight there.  


The most difficult part of this pattern is figuring out how to sandwich the sleeves between the front and back and also how to deal with what I call is the under-sleeve.  Don't over think it.  Follow the diagram and if you find the directions confusing, don't read them.    


Isn't that inverted pleat cute?  


I really love how this turned out.  


I added one hook and eye made for coats at the throat.  It doesn't shift around at all when I move.  


I love my finished cape!  


Here's a peek at the insides.


Here's a view of the falls in Sioux Falls.  I wish the photo captured how really pretty this place is, especially in the winter!  It was such a beautiful and unseasonably warm day we had to visit!

Thanks for reading!
Sue

Thursday, November 24, 2016

A coat for Simon...more unselfish sewing


I love making coats.  I've made countless coats for myself and others and purchased this Jalie pattern several years ago in anticipation of making it for Simon, and any other grandchildren, numerous times.
Image result for images Jalie 2008


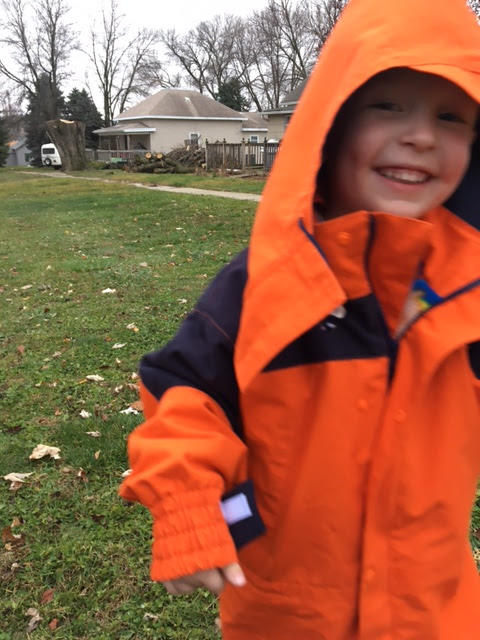
Look at all those details!  It really looks like a high-end Columbia jacket that you'd pay over a hundred bucks for, even for a young child.


Yes, it is big, but he is growing so quickly that it will look much better this spring.  I hope he'll wear it next year as well.  


He helped pick out the fabrics.  His favorite color is orange and he also loves Paw Patrol.  The lining is fleece featuring Paw Patrol.  


It's hard to capture details when an overly tired three year is 'posing' for photos.  


I made this coat based on his measurements which equated to a size G.  Still too large but like I said before, plenty of growing room.  


We traced off the pattern pieces using tissue paper carefully making the grain-lines on everything. 


The details really make this coat fun to create and special looking.  


Here you can see the fleece lining he was so excited about.  


I found most of the hardware, velcro, and zipper at JoAnn's.  The orange snaps were applied using my Kam Snap Pliers.  I really love these snaps.  They are plastic but applied correctly they are very strong and durable.  They also come in so many colors and they matched the orange perfectly!  


Here is a glimpse into the double welt pocket that is hidden with a wide flap.  The pockets are plenty deep for a three year old.  


I really love top-stitching and if you don't like it, this may not be a project for you.  


I wish I could have found orange velcro!  That would have been even cooler!


The pattern calls for 1" elastic but I had 1/2" so I created double the casings and went with it.  The way these casing are created is a very clever feat of sewing engineering!  My only other deviation from the pattern was to leave off another flap that covered one portion of the welt pocket.  I just didn't feel like it was necessary. 


I also love the hood with the peak detail.  It looks very RTW.  


Directions for this coat are very good, as you can tell by looking at it, it takes time to construct.  I used rip-stop nylon from Fabric.com.  The fleece is also from Fabric. com.

I highly recommend this pattern if you are an experienced sewer.  Try it!  I hope you make someone's day, just like I did!

Thanks for reading!
Sue

Saturday, November 12, 2016

A new coat for fall!


For me, making coats is super satisfying.  I am not sure why, but there is something about wrapping yourself in a coat you've made that is so amazing!  I try to make at least one coat per fall/winter and this year I started early!  


I used this fabric from FabricMart in a little darker blue...more of a cobalt.  I so love the color of this fabric!  It was such a nice quality and I love the fact it is water repellent.  We get enough snow, sleet, etc so a coat that repels moisture is a bonus in my book!    


Here are the deets on my fabric: It is a merino stretch wool blend that is water repellent.  I love it! 


Before ordering fabric, I had picked out this pattern.  Honestly, I would have looked over it, but the October issue of Threads highlighted this pattern and made view A.  
Image result for images Butterick 6292


When I ordered my fabric, I found that if I worked super hard, I could get view B cut out successfully!  SCORE!  I love everything about view B.  I had to make it.  I pretty much followed the pattern verbatim.  


I used sew-in interfacing on the front portions and it worked beautifully.  


I didn't realize view B had a little facing in the back vent, and of course I didn't have any fabric left so I rummaged through my stash and found some faux leather that worked great and it coordinated with my buttons!  


I made my usual FBA, swayback adjustment, and sloping shoulder adjustment and am so pleased with the fit, color, and style of this pattern.  I can't recommend it enough or the fabric!  I hope you can hop on over to FM and find some beautiful coating!
  

What about this bright yellow lining?  I love that too!  It adds a fun surprise!

Thanks for reading!
Sue 

Thursday, November 10, 2016

Have you ever?

Gone somewhere that you knew you'd be bored and you had to stay overnight?

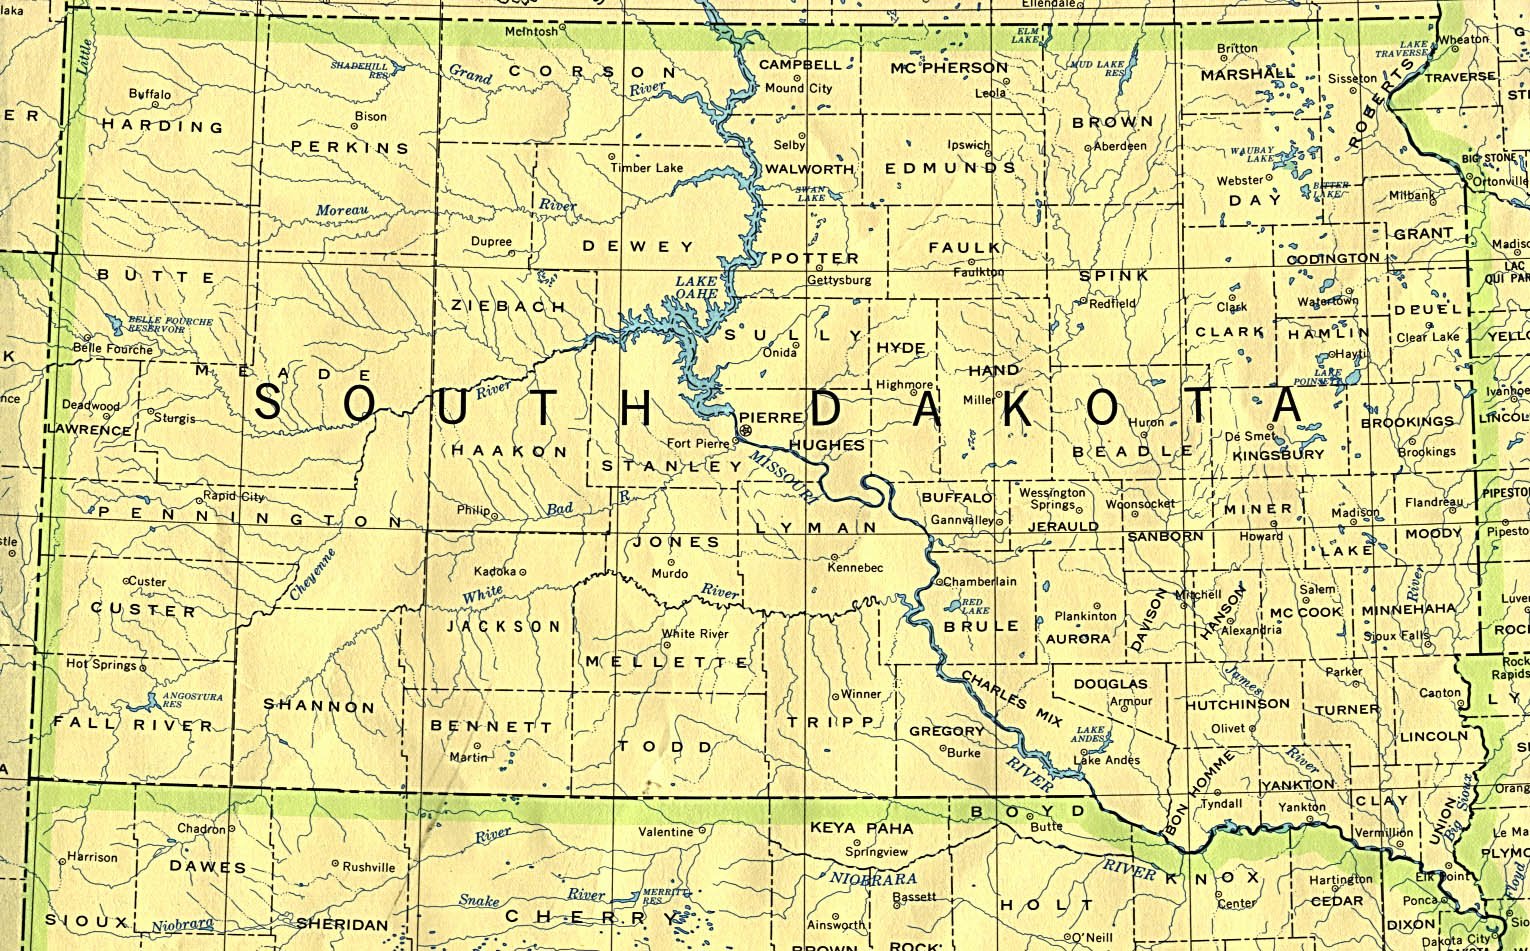
Image result for images of maps of south dakota

That was me this past two days.  I had to travel from Sioux Falls to Chamberlain.  Never hear of it?

Image result for images of Chamberlain, SD

It is about 130 miles from home and I had meetings there two days in a row.  I stayed all night in a hotel that is on the edge of the 'city'.

Image result for images of Chamberlain, SD

There isn't much there--unless you love to hunt a fish but for little me, with no vehicle and darkness that approaches at 5:15 pm, I had NOTHING to do!

So, I loaded up my beloved Bernina 430 and a project and set to work.


My grandson, Simon, needs a new winter coat so grandma agreed to create one for him.  I am using orange and navy, much like the man's jacket shown, to create it for him.  He also LOVES the cartoon Paw Patrol, so I ordered some fleece with the puppies featured on it.

I started the jacket and I must say, I am quite smitten with this pattern and how professional it looks, even in my semi-constructed state!  It is some work, but making coats/jackets/multiple pieced patterns with many details is so stinking satisfying!!!  

I am loving this pattern and thought I'd show you my set up in the room I stayed in for the night.


It worked!  I plan on using this pattern multiple times, I I traced off the pieces and kept the pattern piece and fabric together until I was ready to use it.


I am loving this project!  Have you ever taken your sewing machine to a hotel room and sewn?  Did it go well?  Do tell!

Sue :)