
Today, I have another Pattydoo review for you! This time, I made this adorable 'coat'. My muslin was made from a wool blend plaid and my final garment was made from Telio sweater knit.
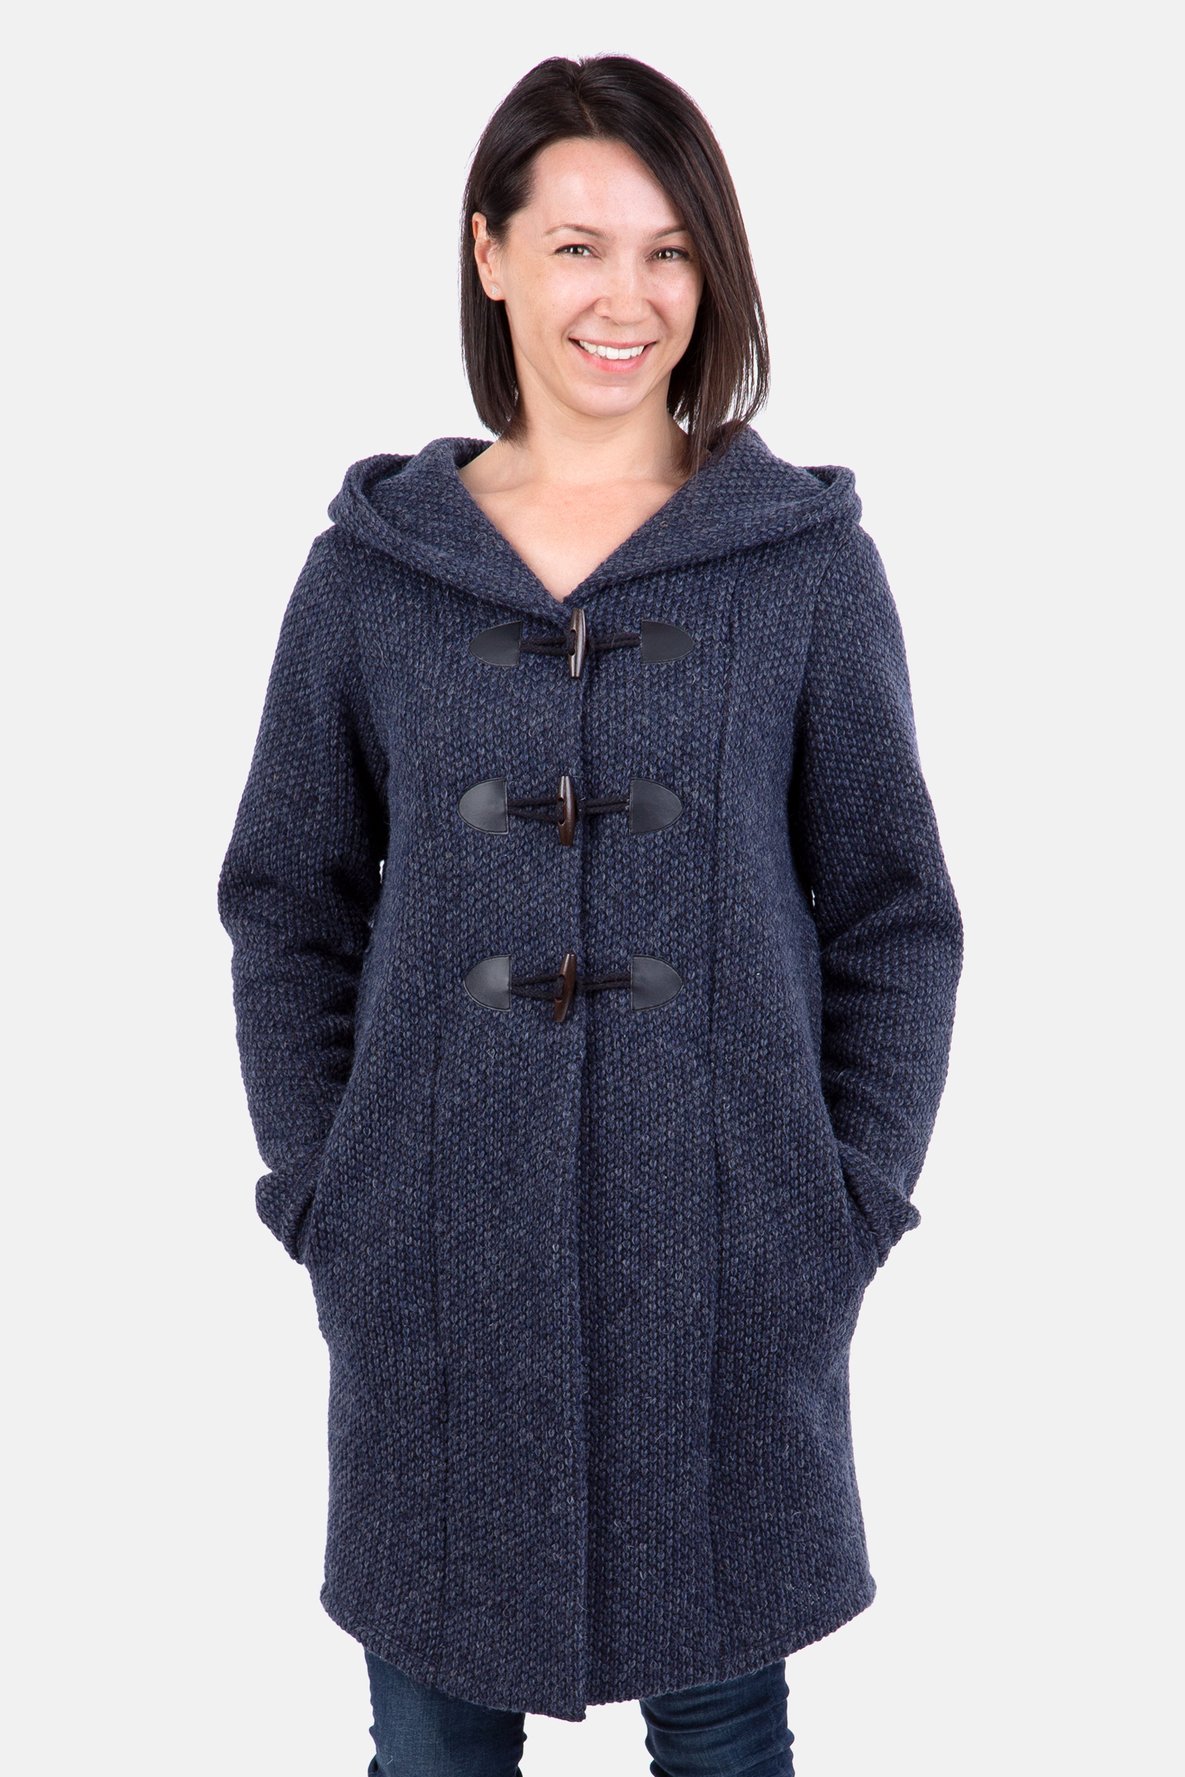
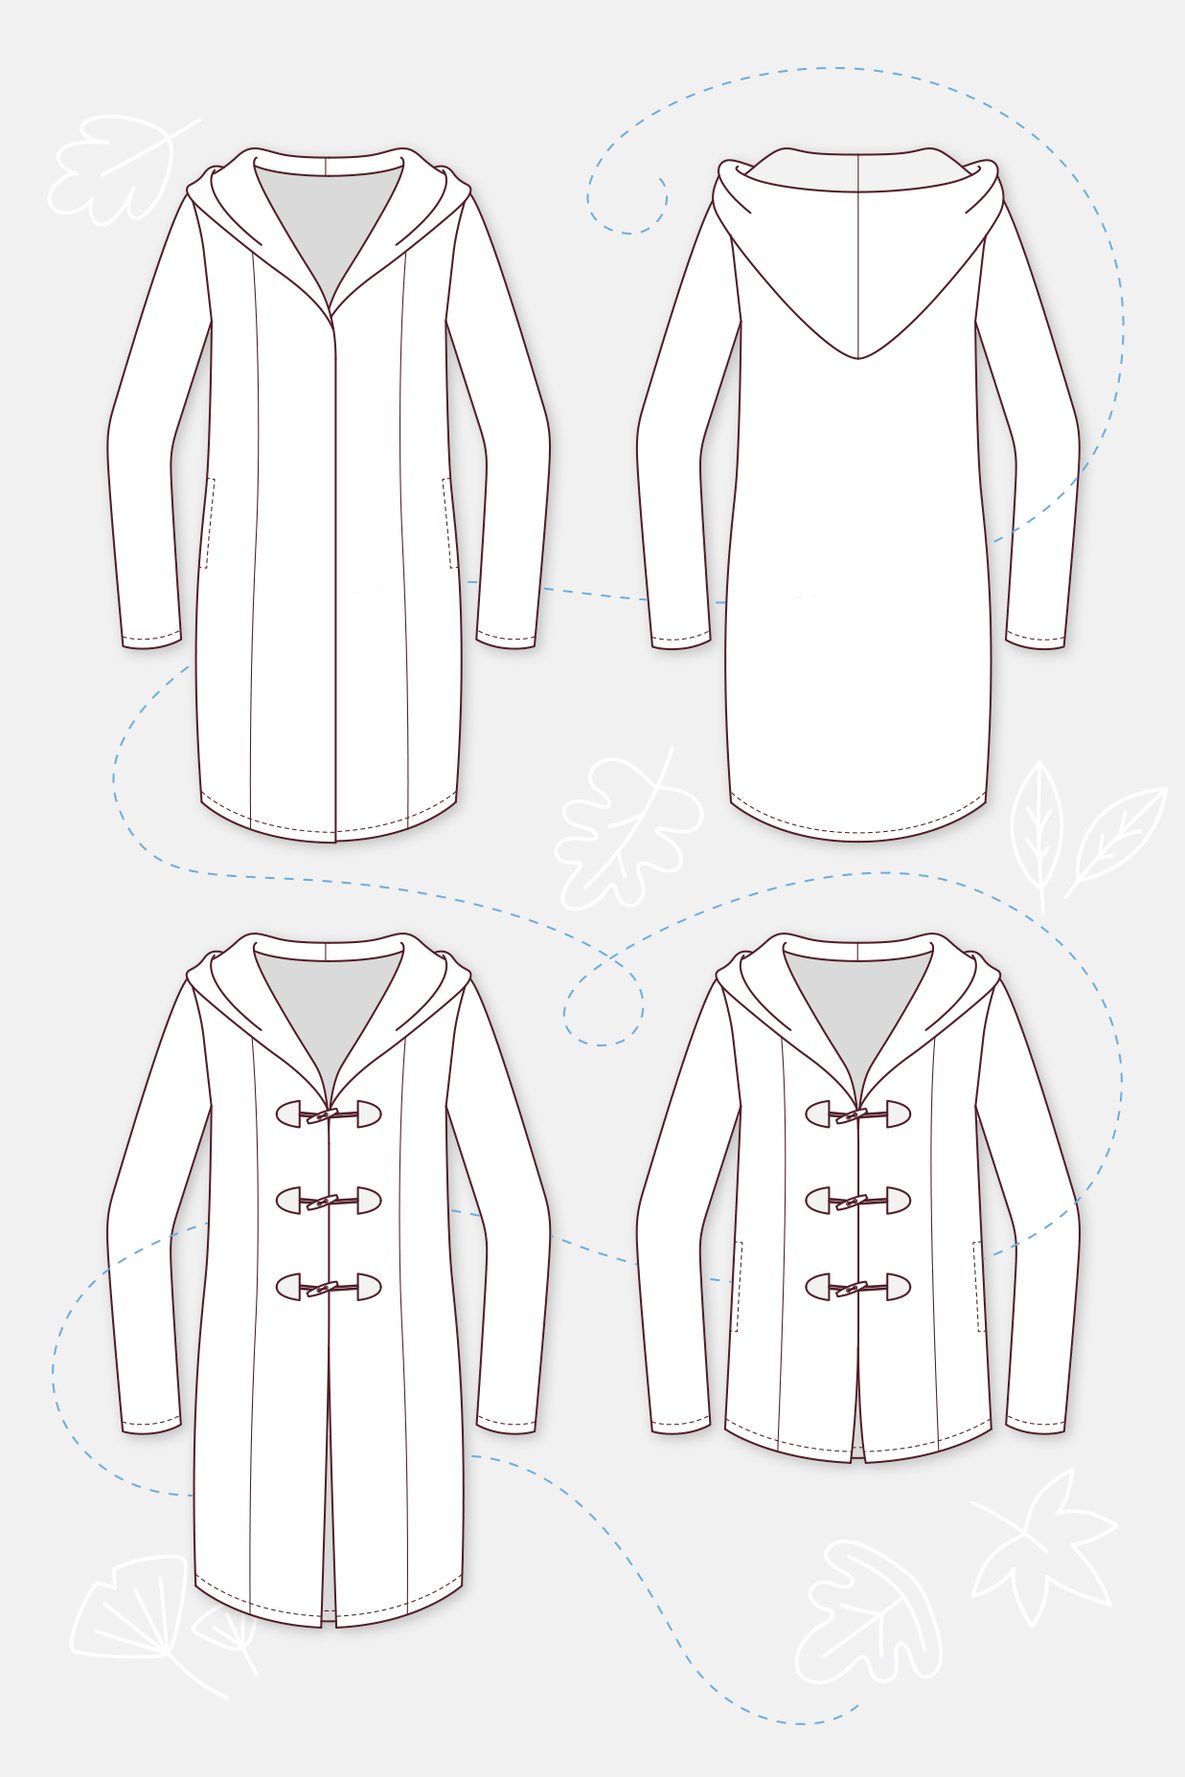
I just love the design lines on this and the fact that the hood is lined. As with the first pattydoo pattern I tried, the drafting is exceptional. If you are interested, a link to the pattern is below.
I chose to make my 'coats' more jacket-like with no closures and with a lighter weight fabric.

So, here is my muslin. I thought I had matched up the plaid on the front band area, but apparently not! I didn't have enough fabric to recut, so I am living with it. You can also see, my band facings are made from a solid black. In hindsight, I should have cut the black as the piece you'd see on the right side.

At least my plaids match across the front band area! You'll notice too that the sleeves are a tad short. I corrected that on my final garment. I am hoping this fits DD2. She's shorter than I am, so this sleeve length is hopefully perfect.

I really like that the hood is lined on this. It gives a very nice finish. There are no printed directions for this and there are videos, but they are in German. Although, you can see the steps so if you have some experience, you can simply follow along and create this with no issues.

There are also side seam pockets that are very nicely drafted. I do believe it you lengthened the finished width by about 1/4" or so, you could catch them in the band seam and then they would't flop around at all.

Here you can see those pockets. I did tack them down to the band at the top and bottom.

Here's my second version. I used this blush colored Telio sweater knit. This fabric is so amazing and lucious! If I can sew about 10 more things without purchasing additional fabric, I am going to treat myself to a few more colors of this sweater knit. I just love it!

Here's the inside of the jacket. No judgement on the sewing room please! You can see the band facing is cut in two pieces. This saves on fabric yardage for sure.

I just love the fit of this. I lengthened the sleeves by about 2 inches. With this knit, I did leave the pockets off as I wasn't sure how the fabric would behave with the pockets constructed per the directions.

I really took my time with this and stabilized the front band area, the shoulders, the back neckband and of course the hemlines.

This might seem a bit weird, but I starched each cut edge prior to sewing together. I think it made the fabric a bit easier to handle.

I did edgestitch the facing so it wouldn't roll to the outside.

The directions have you add a piece of bias to the back neckline, which I forgot to picture. I highly recommend this step, especially if you are using a knit. There's a lot of weight on that part of the garment with the two piece and layer hem.

I think I have a new layering piece this winter!
Thanks for reading!
Sue
No comments:
Post a Comment