
I was so excited to participate in the Fabric Mart post on the summer of Tees. I knew it would be a stretch for me as pattern hacking is something I don't do a lot of, but when I do, I am just (usually) stoked when I see the overall results. I searched Pinterest for an idea that I could use with one of my favorite tee patterns: Sewaholic's Renfrew.
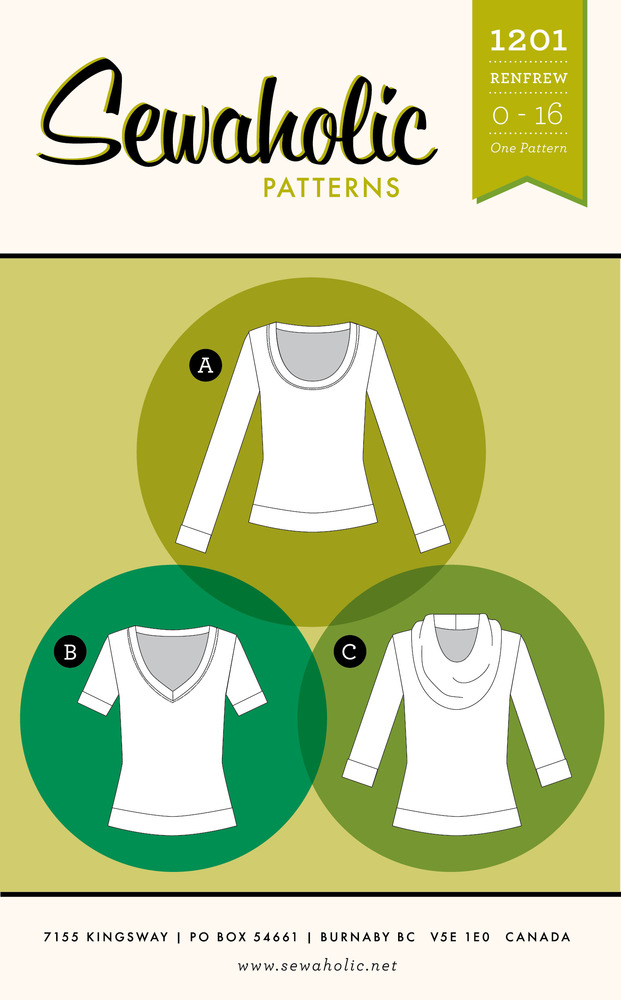
In case you aren't familiar with the Renfrew, here is a picture of the pattern envelope. Just think of the possibilities with this pattern! I've made this pattern numerous times and have tweaked the fit quite a bit with an FBA, sloping shoulder adjustment, and swayback adjustment.
When I was looking at all the pins I have on Pinterest, here is the look I was hoping to recreate: 
But I wanted only to recreate the back color-blocking portion and of course use my beloved Renfrew, which doesn't have raglan sleeves.
Here is what I did for re-drafting the back pattern piece.

I use plain tissue paper when I copy off my pattern pieces. It is easy to see through to copy and lightweight and I can refold it back into the pattern package easily.
And yes, I do lightly iron the tissue before I lay it out on the fabric to cut it out.

Here is a closer-up of the drawing along with the reminder to add the 5/8" seam allowances, just like the rest of the pattern calls for.

Here is what the back pieces looked like after I cut out my fabrics. I really love the contrast of the blue perforated scuba knit and the ITY floral print. The perforated scuba knit is from Gorgeous Fabrics and the ITY knit is from Fabric.com. I really like the blue and white combination.

That inverted 'V' I had made so pronounced on the pattern tissue and in the cut fabric is my less so when sewn together--this is more of the look I was going for! Notice the topstitching along the seamlines of the neck band and the intersection of the two fabrics? I did that to conceal the seam edges. The neckband's seam was pressed upward into the neckband and then topstitched. The seam long the back was pressed downward and topstitched into the lower portion of the bodice back.

I really loved the sleeves that were in the contrasting fabric, just like the inspiration photo.

I just love using a pattern to 'hack' that you've used before, fits well, and is simple to sew.

You get a hint of some fun when you see the front but with this top, the party is mainly in the back!

I love the look of this from all angles!

Sewing with two very different fabrics wasn't difficult at all. Just use the right needles, notions, and take your time to think through the steps. As I said previously, I folded the seams of the neckband to upward and topstitched to the neckband. That way you don't see that seam on the finished garment back. On the sleeves seams where both fabrics were the scuba knit, there were some 'holes' due to the perforations. Since at times I would be sewing 'on air' I decided to reinforce that seam with stay tape. It worked like a charm. I also topstitched the seam on the scuba knit only along the backside of the sleeves to not only reinforce the seams but to also help them lie flat.

I am very pleased with how my 'hack' turned out, or should I say redesign?
Do you have an redesigns of the Renfrew? I'd love to see your version!
Do you have an redesigns of the Renfrew? I'd love to see your version!
Thanks for reading!
Sue
Sue this is the cutest ever!! I love it!!!!
ReplyDeleteThank you!!!
DeleteThis is so cute, thanks for the great idea - I love your shirt.
ReplyDeleteThanks Lori, please copy my idea!
DeleteWell done! Looks like a home run to me.
ReplyDeleteThank you Linda! I am very happy with how this turned out!
DeleteSue, you are fearless! Your hack is wonderful, and the fit is spot-on!
ReplyDeleteHaha, thanks Cherie! I appreciate your kind words!
DeleteI love it! Fabric combination is great & the fit is perfect.
ReplyDeleteThank you Beverly!
DeleteAbsolutely lovely and so clever too. It looks great on you.
ReplyDeleteDo you use a cover stitch machine for knits? If not I would love to know how to finish hems etc without one.
I think this is the first time I've left a comment but I follow and am always inspired by your makes
Margaret
Hi Margaret, thank you for following my blog, I so appreciate it!
DeleteI do have a cover stitch machine but hate to say I only really use it for heavier knits. On lightweight knits, I find it frustrating!
I typically have one of two ways I finish hems on lightweight knits:
Use a twin needle
Or, as it the case of the renfrew, I will sew a band that becomes the hem.
I hope this helps! Bands don't always work but the twin needle works like a charm!
Thank you again for your kind words and happy sewing!
Sue
Thanks for that Sue. I just finished my first knit top using a twin needle. It worked well although not before I'd broken one needle and had to replace it - expensive mistake!
DeleteI hope I can improve on what I learned this time around.
Love everything you make. You really inspire me to want to keep on with the garment sewing.
Really unique. Love how you used the scuba knit and yes, the fit is perfect. Nice job
ReplyDeleteThanks Greyann! I appreciate your kind words!
DeleteI really like this pattern hack!
ReplyDeleteThanks Jsews! I am very happy with it, if I say so myself!
Delete