About Me

My photo
Sewing is therapy for me. I hoard fabric, patterns, notions, and spend more time shopping for fabric than I care to admit...

Saturday, September 6, 2014

The First Challenge! Oh Yikes!

So here we go with the Fabric Mart sewing challenge I was telling you about in the not so distant past!  Fun, exciting, but also down right terrifying!  You can read about the rules and such here.

I love to embellish fabrics and such but it is tough for me to know how much, know what I mean?

We are using the Scout Woven Tee as our base from Grainline studios.  What a blank canvas to start with!!!

It's simplicity is what makes this top so very popular in the sewing community as the fabric is what will make this wardrobe basic shine!
Scout Tee


Watch for my final product on Tuesday when it is due!!!

Happy Sewing!
Sue


Wednesday, September 3, 2014

McCall's Floral Dress Repeat!

M6886Line Art


Sometimes the simplest designs are simply the best, amirite?  Why do we fuss so much when we have a pretty fabric that just needs to have a simple design paired with it for great results?  No need to over think anything....just pull out a simple, well-designed pattern and have at it!  Don't you agree? 

If this dress looks familiar, well, it is.  I made it with longer sleeves in a slightly longer length in a floral that reminds my husband of his Aunt Della....while I don't want to rehash that weird correlation of my clothing to his dear, long departed great aunt, I knew when I saw this fun floral print it had to be a dress.  And, since I love this pattern and style so much, I knew it would be a match I'd be happy with.  


 I used a Marcy Tilton floral for this that I picked up on her summer clearance sale about a month ago.  Wow is this a quality fabric!  It washes and dries beautifully and the colors are so vibrant--yes, I know they are limited to black, white, and gray, but I still feel like they are vibrant.  Correct me if I am wrong!

I did my own thing with the neckline that I tried to take some pictures of.  I copied this from a RTW garment I have and I just love how flat the neckline lays!  And yes, I do stay-stitch my knit necklines just for extra insurance.  Maybe it is overkill, but it makes me feel better about my sewing and that is what matters.  :)  

I always cut my neckbands on the bias.  While this too may seem like overkill, it helps the binding to lie flat against my body.  I just hate it when I work hard on a knit garment and for some weird reason the top part of the neckband gaps away from my body--super annoying!  Cutting the band on the bias solves that problem for me!


So, here are the steps: 

1.  Sew just one side of the shoulder seam and stabilize the seam.  I use clear, 1/4" elastic to do this.

2.  Stay-stitch the neckline using a longer stitch and stitch just inside the seam line.  For this dress, the seam allowances are 5/8" so my stay-stitching is a few millimeters inside of that line.  

3.  I attach stay-tape to the neckline at this point on the garments right side and then trim away the excess from the seam that could potentially show.  It is much easier to cut it away now rather than after you have the neckband sewn on.  Also, you may wonder why I put it on the garments right side, the reason is that stuff is itchy on my skin!  This keeps it much more comfortable for me.  


4.  Next, stitch the right side of the neckband to the garments wrong side.  At this point you can either trim the seam to a scant 1/4" or serge, which ever you prefer.  As you can see in my photo, I serged.  

5.  Flip the neckband to the garments right side, press and stitch just a few millimeters from the edge of the neckband to keep it in place.  


6.  Stitch the other shoulder seam and I like to trim the seam on a diagional to keep any sort of glimpses of the seam showing as I wear it.  I just dab a little fray check at the point and let dry.

That's it! Construct the rest of the garment as you normally would which for me is sewing the sleeves in flat and then the side seams.  I put narrow bands on the sleeve hems as I didn't feel like doing anything else with them and didn't want to just turn and hem.  

I do like this dress that I wore to work today with leggings, sandals, and a black belt.  So very comfortable!  This is a great pattern!  Try it!  And, in case you are wondering I asked DH if I looked like Aunt Della and he replied no, but said it in a manner that he thought I was weird for asking....he must not remember the comment he made on my other dress from this same pattern!  


Thanks for reading!  Do you have any stories about your sewing?  I'd love to hear about it!  Sue  

Saturday, August 30, 2014

Oh how I love the Chambray!

My love of chambray has grown and why not?  It is amazing against your skin (that is if you use a high-quality fabric), it sews up well, and is well, awesome!  So of course I love it!  This time, I found an amazing RED chambray, after all, who says chambray is only blue?

So this time I decided on a tunic as I love wearing tunics with leggings.  They are SO comfortable and cozy and honestly, sometimes feel like pajamas and who doesn't want to think they have jammies on a work?


So, I rummaged through my stash and since I've been lazy and haven't done a very good job of putting away all my toys (let's face it, for a seamstress, our stashes of patterns, fabric, and supplies are toys!), I quickly found McCall's 6124 as I recently used it for a dark chambray top.  I really liked putting it together so I figured why not!

So an update with my dark chambray shirt....remember those annoying lines at the center back that were there despite my swayback adjustment?


I consulted with a local sewing expert and she took a look at the pics and asked a few questions....

She first noticed that the front is pulling a bit at the hip line as you can see above and asked if I felt like I was tugging the top down as I wore it and the answer was yes!  So, her suggestion was to let the seams out at the waist and hips to give some more room to slide down over my hips.  Well, duh, that made sense so I was all over it and made the adjustments which are sort of hard to see in the photos below.  Wow, what a difference that little bit of ease made!  I had already serged the seams with a four-thread seam so I went to a three thread and with the five seams, that little bit made a big difference!  


So....that leaves us with Chambray tunic in red....what to do?  Well, in my dark chambray I didn't leave enough for ease in the waist and hips, so this time I made sure I had enough, I didn't go with any more than the pattern allowed for, but I didn't take it in at all either.

Oh yes, I and of course I used interfacing from Fashion Sewing Supply.  Love that stuff and I can't say enough good things about it!  The buttons are silver metal ones from Hancock.


So, this time with the this top I took my own advice and put the tunic on before determining where the buttons would be.  I like to start with the one at the largest part of the bust so you don't get gaping. All the other buttons I spaced 4 inches apart.


To attach the collar and stand, I used the same method I used for the dark chambray that I detailed here  This is a great method that gives really excellent results and although I love it, I haven't perfected it yet so no high fives for me yet, that will come with more practice.


I had to add a pocket.  And, the pocket I added is from the Grainline Archer.  Is it really weird to love a pocket pattern?  I've used it on several tops as it is just the right size....

So, of course I had some fitting issues but this time in the upper back.  Argh. It is so hard to try and fix this when you don't have a sewing buddy that can help pin.  So, I took some really bad pics with my phone, checked them out, pinned the shirt, tried it on, took another pic, and with a little more fine tuning, sewed.  This is much better, but still not perfect.  I'd love to find a perfect pattern for my TNT blouse/tunic but I'm not sure this is going to be it.  I'll keep searching....

So, thanks for reading!  So, what are you sewing up for fall?  For now, off to play because a very special little man is here to visit!


Sue :)

Friday, August 29, 2014

Yahoo! I was selected!


From the Fabric Mart website...

"Our 8 contestants have been selected! Wow we had a great response from some talented sewers, I just wish I could have chosen them all! We will begin the Fabricista Fashion Challenge on Friday, September 5th. On that day, all contestants will have the first challenge in their inboxes and it will also be posted on the blog! 

I know some of you out there love a challenge, but maybe you thought the Fashion Challenge wouldn't fit into your busy life or maybe you felt you weren't "good enough". I'm giving all of our viewers a chance to participate with the contestants! Although you will not be in the main competition, you can post photos of your projects on our Flickr page.

So let's find out who has been chosen for the Fabricista Fashion Challenge 2!"  

And guess who the first photo is of!  That's right, it is ME!!!  I am so stoked I can hardly stand it!


The challenge starts on Sept 5th!  Watch for my postings and vote for your favorite!  I have no idea if I can compete with such a great group, but I'll give it my best!

Sue

Tuesday, August 26, 2014

My first, but not last Scout Woven Tee!


Introducing my first, and definitely not last, Scout Woven Tee!  Once again, what too me SO LONG???
For some of these Indy patterns, I truly feel like I am the very last person in the sewing world to try it.  There are so many pretty versions of this tee and I finally, finally gave in and purchased that damn pattern so I could make it!


Yes, so this is exactly what the pattern says, it is a tee made from a woven....not a stretch woven but a true woven and my fabric, that was from my stash, had zero stretch in any direction, even the bias!  It is a loose-fitting top because it slips over your head and down over your body with no zippers, nothing!


I decided to use a stash fabric because as much as I try, I can't seem to do a very good job of using up fabric before purchasing anything else so if every once in a while I use something I already have I consider it a huge bonus!


So about the pattern...super easy with a front, back, sleeve and neckband facing.  That is it which makes total sense when you look at the photo, amirite?  This is an ideal pattern for a beginner or someone leery of knits but wanting to learn how to construct a basic tee. All in the total time commitment from taping together the pdf to stitching the hems was about 1.5 hours.  That's it!  Yippee!


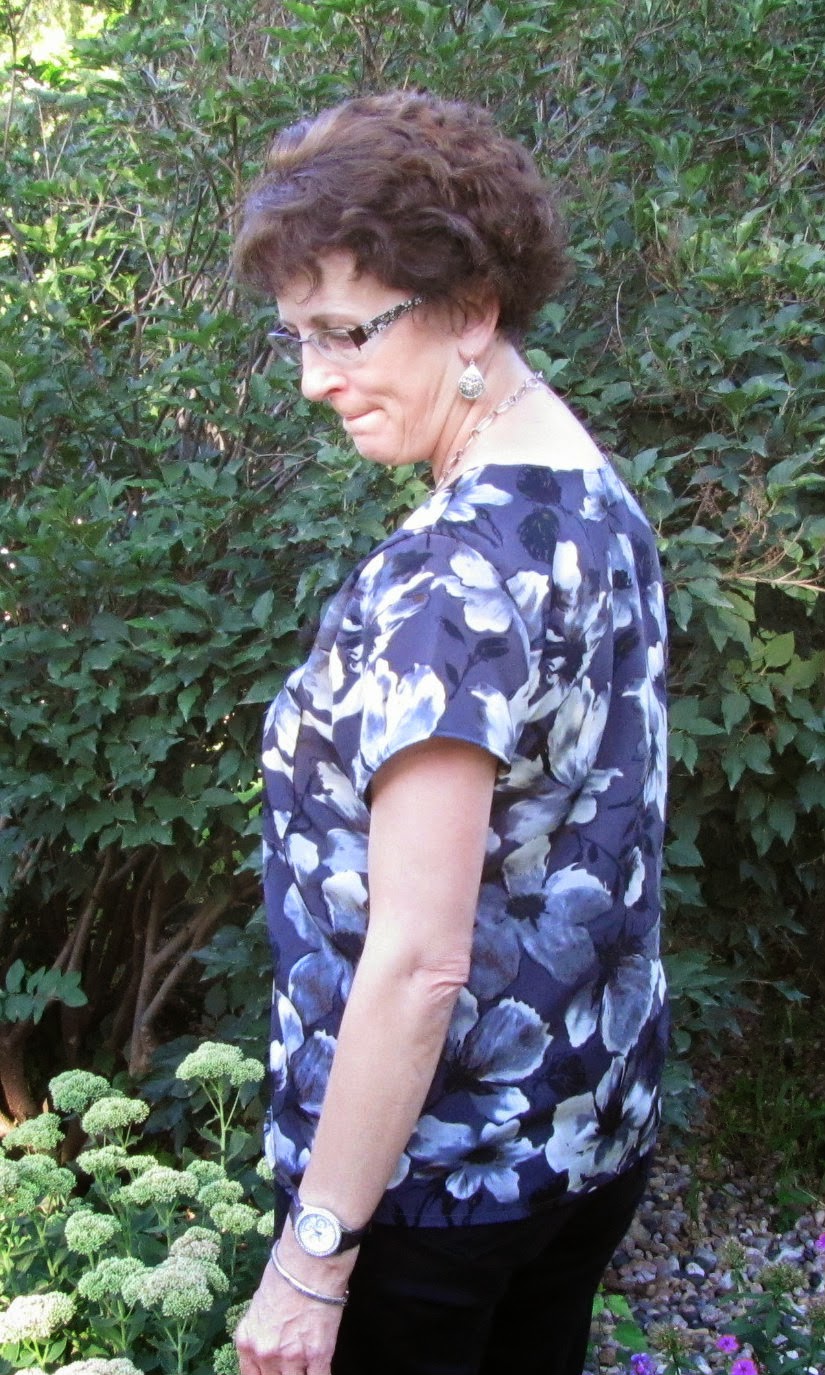
So, alterations since this is large were sort of significant.  I took out my usual 1/2" swayback adjustment and after trying it on when it was basted together, I ended up taking a total of ---wait for it--six inches from the hemline and tapering to nothing at the armhole.  What????  Yes, you read that right!  This was HUGE in the waist and hips.  And, it doesn't look that huge in the pattern photo above, right?  Here is what I am wondering....maybe I need to start using my high bust measurement for the bust and make a FBA....any thought on this for similarly built gals?  Also, the drag lines from the bust are significant too.  I may also have to add a dart....I think I will make a note to myself to try that for next time.


I made a size 12 based on my FBA but as I noted about took the hips and waist dramatically.  I don't think I want it any looser but tighter might be difficult as well.  Any thoughts on this problem?


Thanks for reading!  I do so look forward to reading your comments!
Sue

Sunday, August 24, 2014

McCall's 6886 Or ANOTHER floral dress!

 Ok, so I had no idea until today, August 24, 2014 that all the dresses I make that are floral print remind my husband of his great aunt who practically raised him when he was a youngster.  How did I find out?  Well, I went to ask what he thought of my new dress and he gave me the story of his aunt and how he'd have to go to lunch with her and her 'old lady friends' at places that serve food buffet style and how the dress I made reminded me of her.  What's wrong with this?  I am pretty sure his great aunt was in her 80's and I was thinking the dress was pretty cute until that remark.  I mean the fit is great and I was super proud of how well my neckline turned out.  On another note, I noticed how many floral dresses I've made lately and I am thinking I do nothing but make my husband think of his great aunt Della.

M6886Line Art


So, back to the pattern and dress....
This is a very well drafted pattern.  It fits great with just enough ease to make it comfortable and not tight or restrictive at all.  I love the shaping at the waistline...not too much nor too little.  The length is awesome, a few inches above my knee which is perfect as well.  I also love the neckline options.  High neck, lower neck and a v-neck.  I made the lower neck, obviously.  I also love the sleeve variations and length variations that make this pattern versatile and a classic.


What is really awesome is that my fabric was left over and in my stash so this makes the dress basically free, right?

What I am proud of is how I finished the neckline.  What I did was to do the following:
1. Sew just one side of the shoulder seam
2. Staystitch the neckline
3. Attach stay tape to the RIGHT side of the neckline to further stabilize it
4. Attach the bias cut neckline's right side to the neckband's wrong side
5. Trim any staytape that is showing on the neckline's right side
6. Trim the seamline for the neckband seam to about 1/8"
7. Press the seam towards the neckband
8. Pin the neckband over the seamline and stitch with a stretch stitch a few millimeters from the edge
Check out your amazing work!


Also notice how clean the neckline is on the inside as well as the outside!!!!


Ok, so I like the dress better with the black belt rather than the sliver chain belt.  DH suggested the silver chain but I think the black gives it a nice contrast.  Believe it or not, I did my usual 1/2" swayback adjustment and I still have some wrinkles on the backside!  Argh!  Next time I will have to make a deeper swayback if I use this stretchy of fabric for this dress again.


This is a great pattern.  Just make sure that your significant other doesn't think about his great aunts when you choose your fabric.  If you think I look younger than 80 while wearing this dress, I'd love to hear it!


As always, thanks for reading!
Sue :)