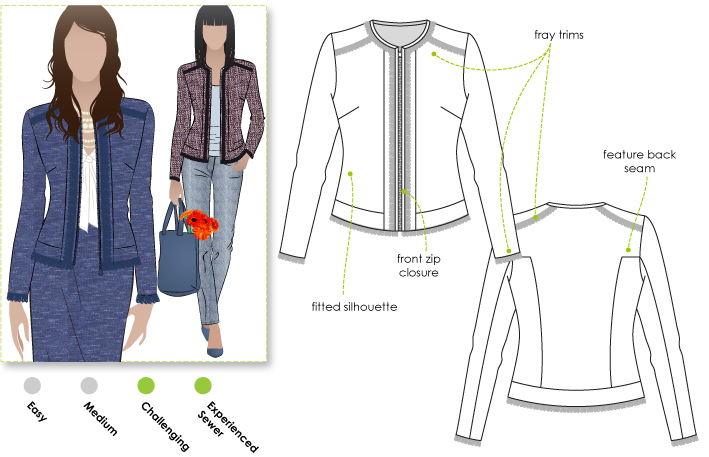
I've made this pattern numerous times and since they are all a bit different, I knew I had to try this same style in a completely different fabric choice: leather! If you are wondering, here's what the pattern looks like:

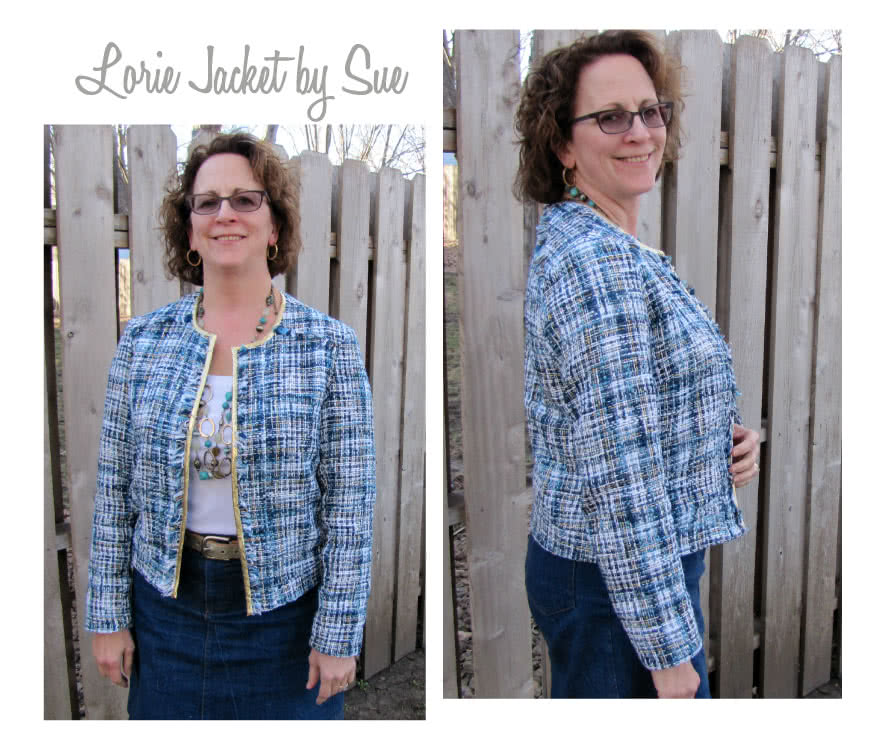
And here are some previous makes from this pattern:

This pattern is simply fun to make!
I've taken some fitting classes since I made these two jackets and I put my skills to work! I also knew the leather would have zero forgiveness so fit from the start is so important! To simply this make a bit, as you can see I eliminated the frayed trim and the zipper. I never, ever zip a jacket such as this and didn't want to wrestle with it to insert a zipper I'd never use.
Sorry about the indoor photos on a rustic wall project that's nearly done, but it snowed about 5 inches today and was cold, damp, and windy. Not the best or most pleasant place to take photos!
What I did differently based on my measurements and comparing the fit to my other two jackets was the following:
I lengthened the bust curve by 1"
I added 1" for a broad shoulder adjustment
I added 1" to the mid back length to match the adjustment to the front bust curve area
Based on previous results with this pattern, I decreased the shape of the shoulder area of the sleeve by 1/2". I consider myself a master at easing sleeves into the shoulder area, but with this pattern is simply isn't possible.
It's a little tough to see, but for my facings, I used light blue denim. You can see that in pictures below.
Leather isn't forgiving at all, so if you make a mistake, you have to live with it as needle holes are permanent. I had a few super tiny mistakes that I won't show you!
Now that I've tackled this jacket in leather, I have a few other leather garments I really want to make!
Not the best photo in the world, but you can see the light blue leather for the facings. I also used a designer lining from Fabric Mart. It was Mark Jacobs (I believe) and it is luscious! Glad I picked up 10 yards of it!
Thanks so much for reading!
Sue


